Granting access to vRealize Automation 8 is a completely different process to vRealize Automation 7.x. This is partly due to the required use of an external VMware Identity Manager (vIDM) component and being based on the completely different code base from vRealize Automation Cloud (i.e. the SaaS offering).
Note: product names are likely to change between the time this article has been written to when it is published.
Enabling Users & Groups for Use
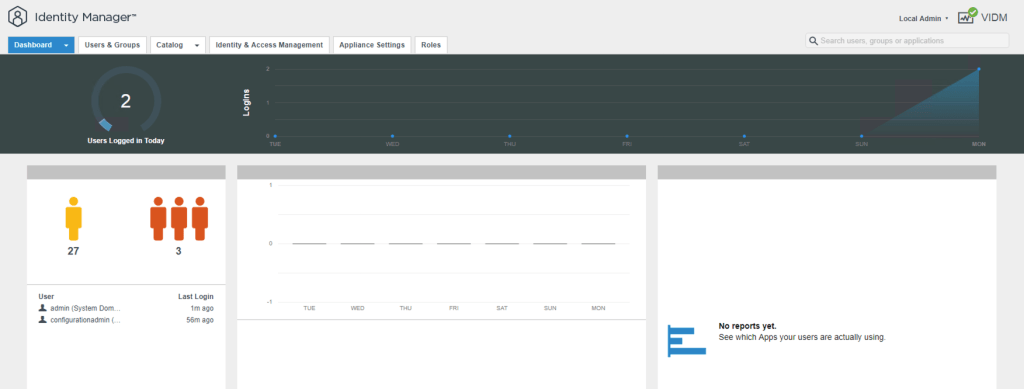
Before a user or group can have any roles or access rights assigned to it within vRA they first must be discovered and defined within the identity management platform (vIDM). To do this you must login to vIDM as a user with administrative permissions. Here I am using the “admin” account.
The directory being used by vRA should have already been defined as part of the installation process but will have no user/group configuration within it unless you have elected to use a pre-existing vIDM platform (of a supported version).
To define the groups and users (for a directory based configuration) navigate to “Identity & Access Management” and select your directory from the list.
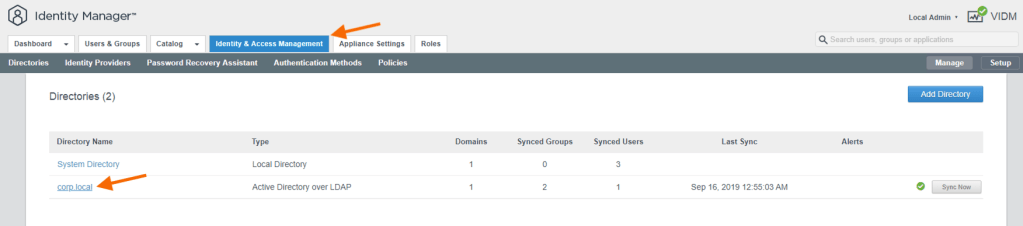
Things should look familiar from here if you are a vRA 7.x user (remember that vRA 7.x used an embedded version of vIDM within itself).

Users and Groups can then be added by selecting “Sync Settings” and providing the DNs for an OU to search within or for a specific user/group.

In this example I have added the DN I wish to search within and then selected a new group (Backup Operators) from the objects returned to me.

The group list is then updated to reflect the new selection.

Running a “Save & Sync” will then enable vIDM to sync the group and its members into the vIDM database. If there are any issues such as missing attributes then these will be shown. The object(s) will not sync to vIDM until such issues are resolved within your directory source.

Directory safeguards can also come into play if you are attempting to add more objects than the default safeguards will allow. The warning message will reflect this if it is the case and you will need to modify the safeguards as appropriate for your environment.
Once the directory synchronization has completed you should be able to see the new additions by going to the “Users & Groups” view within vIDM (make sure you use the right filter option to display either users or groups).

Assigning Roles within vRealize Automation
vRA can now be updated to use the new users and groups now that vIDM has been configured. This is done by selecting “Identity & Access Management” and then either “Active Users” or “Enterprise Groups” depending on what object type you wish to grant access to.

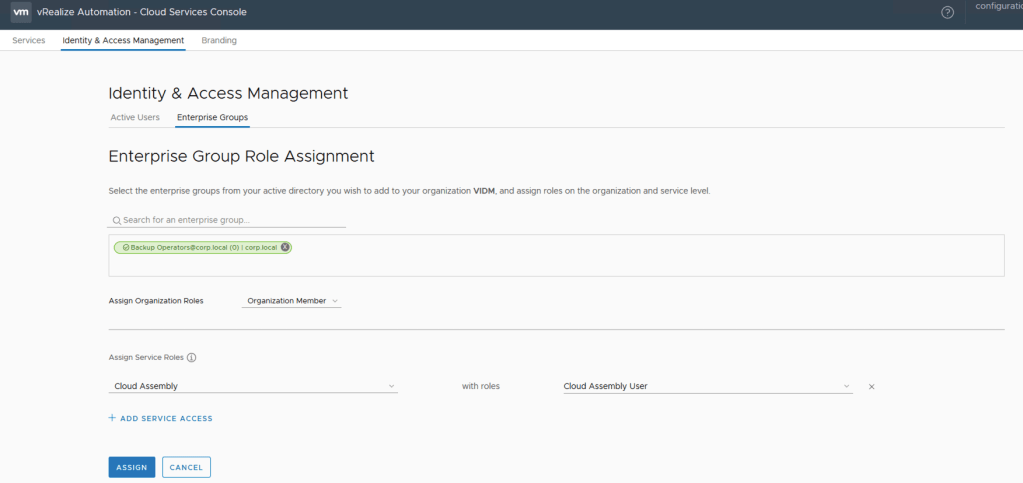
In this example I am going to grant some rights to the “Backup Operators” group that I added to vIDM in the previous section of this article. The group must be located by doing a search and then selecting the appropriate returned item. I don’t want this group to do any identity management or organizational level operations so I am going to define it as an “Organization Member”. Finally I add the services I want the group members to be able to access together with an appropriate role for each service. In this case our group will just be able to access “Cloud Assembly” as an ordinary user.
The group will then show up in the “Enterprise Groups” listing. It’s as simple as that!

In future articles I will be delving into more advanced vRA 8 topics so stay tuned.
