This article is going to cover the basics in deploying vRealize Automation 8.0 using the easy installer. This is an approach which we (VMware) have used before for other applications where the install is delivered as a downloadable ISO which you can mount and run from a desktop machine. This installer within the ISO deploys applications via API calls to your chosen vCenter, automating the deployment of appliance OVA files via ovftool in the background.
The Components
There are several main components involved in deploying and running vRA8 which include:
- Easy Installer iso
- vRealize Suite Lifecycle Manager appliance (aka vRSLCM)
- vRealize Identity Manager appliance(s)
- vRealize Automation appliance(s)
Installation Process
The basic installation process deploys vRSLCM first from the ISO with sufficient configuration to connect it to a vCenter, loads the vRSLCM appliance with OVA files for vIDM and vRA (also contained on the ISO) and then initiates the vIDM and vRA installations to vCenter via API calls to vRSLCM.
Loading Easy Installer
Opening the installer ISO file on a Windows or Mac machine allows the contents of the file to be browsed. During testing I found several issues with running the installer (and it’s contents) directly from the ISO file (beta). If you encounter issues with the installer I recommend trying the same.
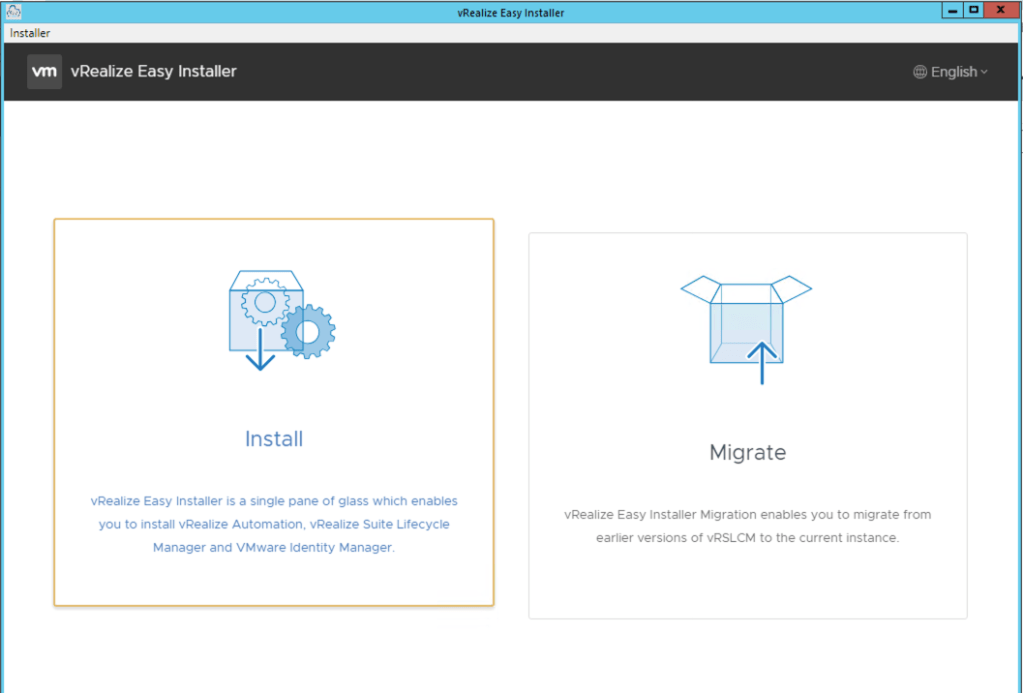
The installer provides several options to get your environment up and running including migrating an existing vRSLCM instance to a fresh install. In this example I am going to do a fresh install only.

Adding vCenter Connectivity
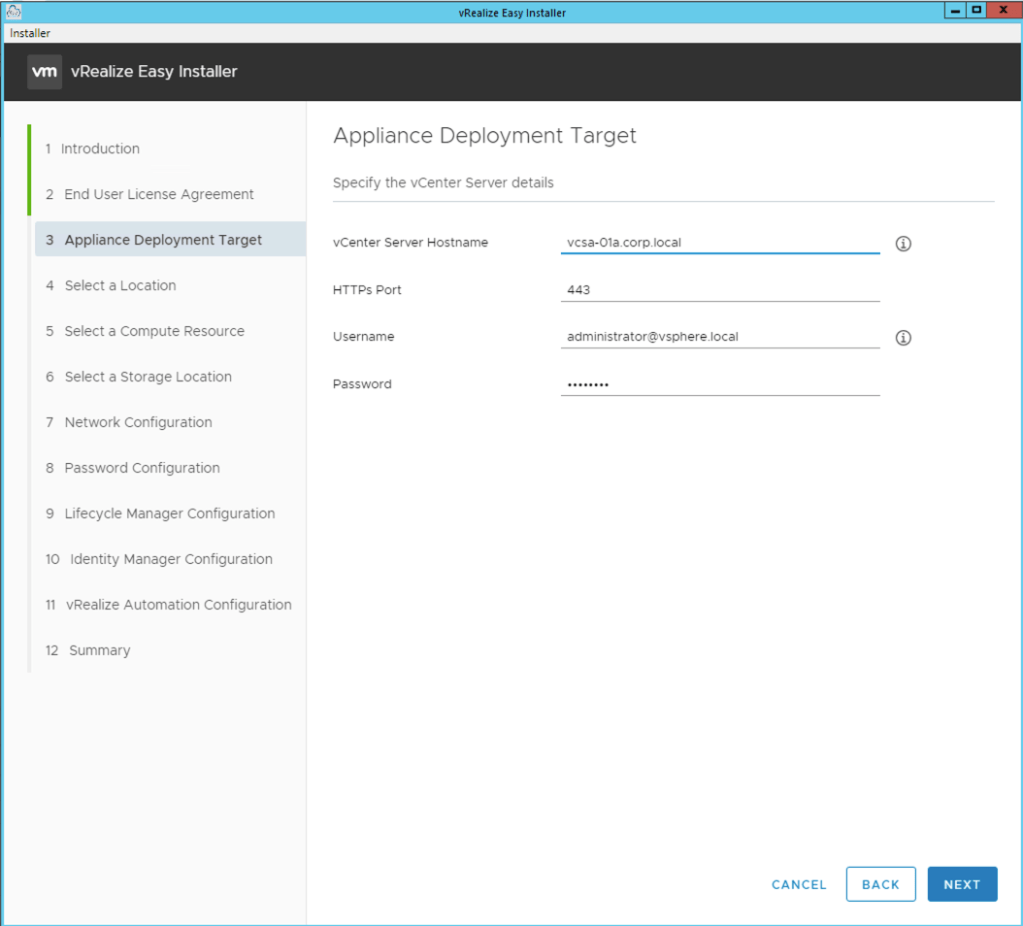
The installer requires you to define the vCenter endpoint that it will use to deploy vRSLCM to (and in turn vIDM and vRA). There is no option here for multiple endpoints to be defined, everything ends up under the same vCenter.
If you want to deploy vRA and vIDM in separate locations then there are options in the installer to skip deploying these components, allowing you to use vRSLCM directly to deploy them at a later date.
At this point the installer should attempt to connect to the vCenter using the details you provided and prompt you to trust the certificate that is on that endpoint. If the installer spins forever you can try minimizing and expanding the window which should bring the certificate trust window into focus.
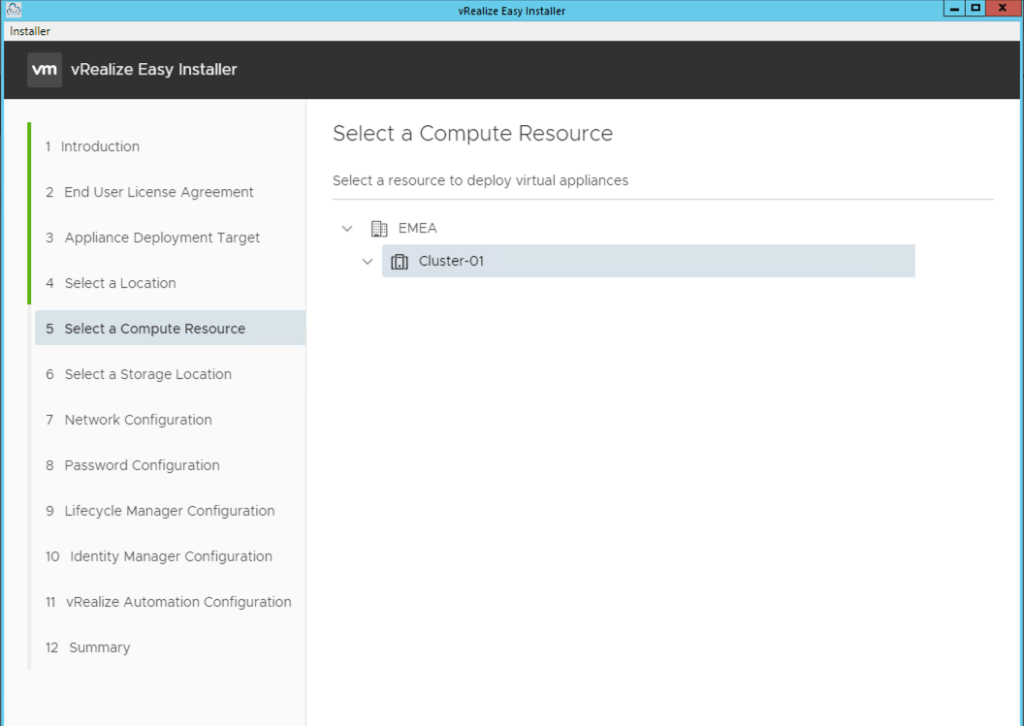
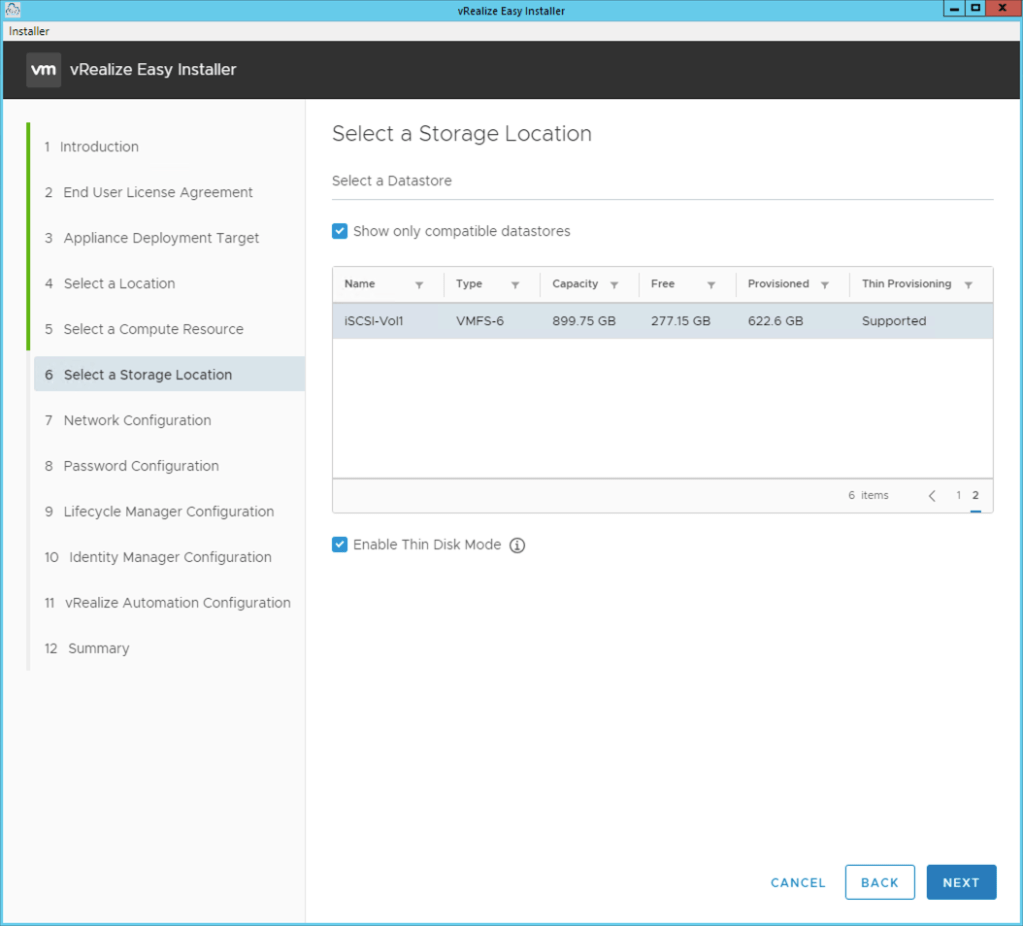
The next few sections enable you to use the vCenter tree to select appropriate clusters, storage and networking to support the appliances.

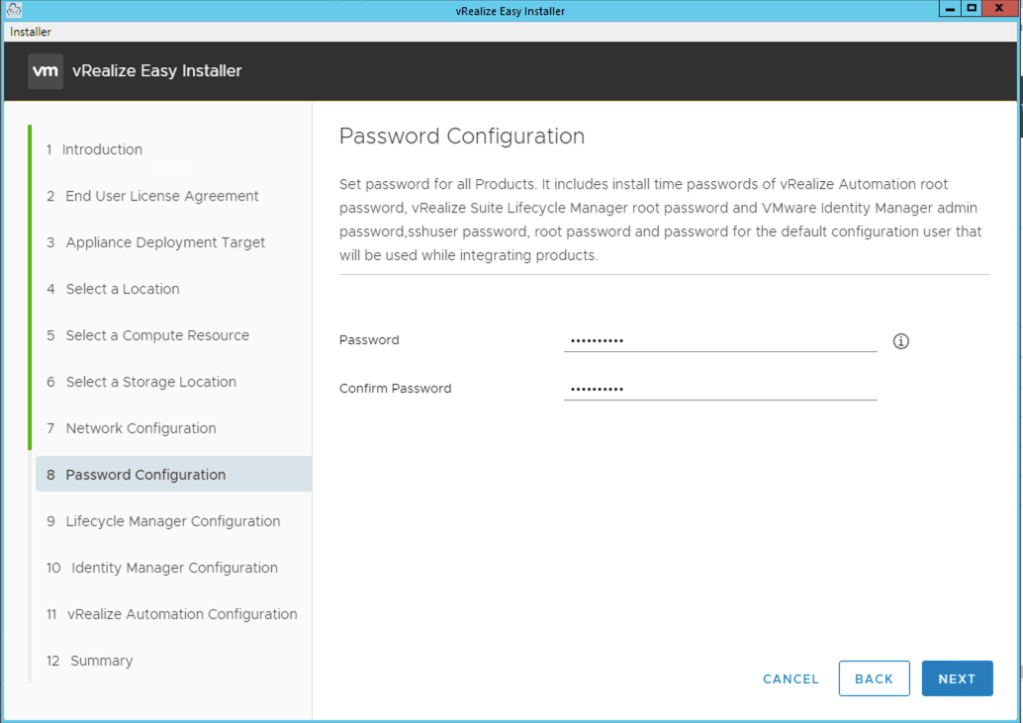
Password Configuration
The password you provide here is for every product that the easy installer deploys including root passwords and application passwords. What it does NOT cover is the admin@local user for vRSLCM. At the time of writing this is still set to “vmware” as per a normal vRSLCM install.
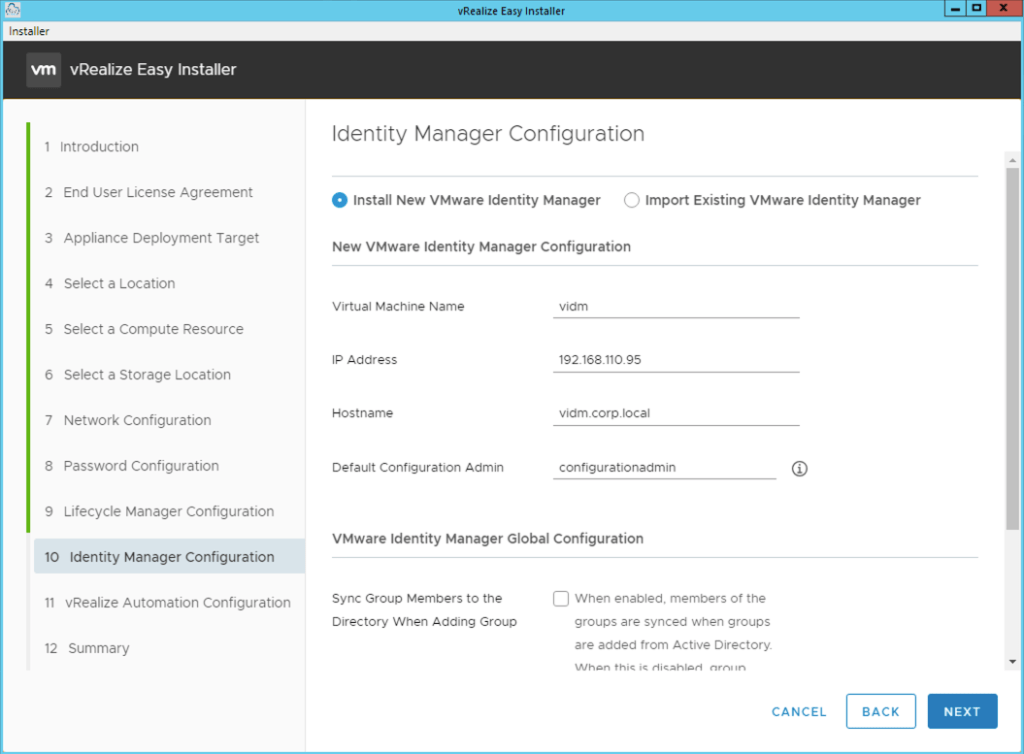
Identity Manager
If you have deployed vIDM before you will know there are lots of parts to the configuration from defining directories to applications, groups and users as well as clustering etc.
The easy installer does NONE of this. It’s purpose is to get a single vIDM appliance stood up that is integrated into vRSLCM and that can be used with any of the products that the installer or vRSLCM deploys.
The default configuration user field allows you to specify a user that will be created within the vIDM default directory that will allow you to log into vRA8 and perform the initial setup.
There is also an option to enable group membership syncing automatically when an AD group is added to vIDM which by default is not enabled.
vRealize Automation Part 1
In this section I am going to take a slight detour and skip the vRA install. This is so you can get an idea of how you would deploy vRA8 directly as a user of vRSLCM rather than the easy installer.
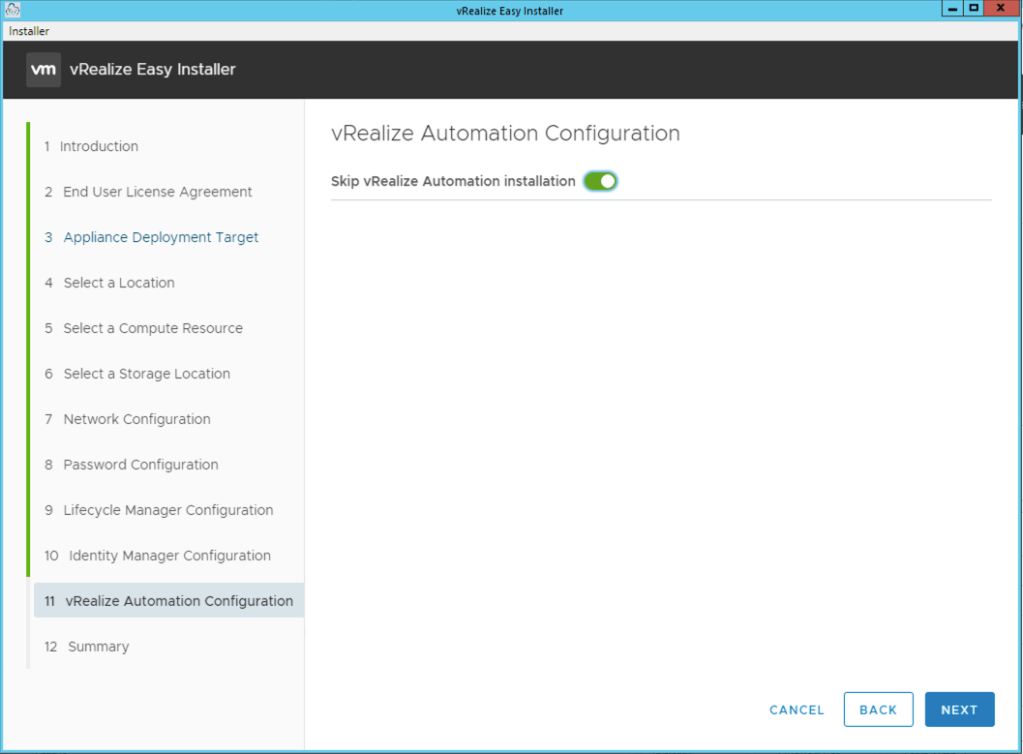
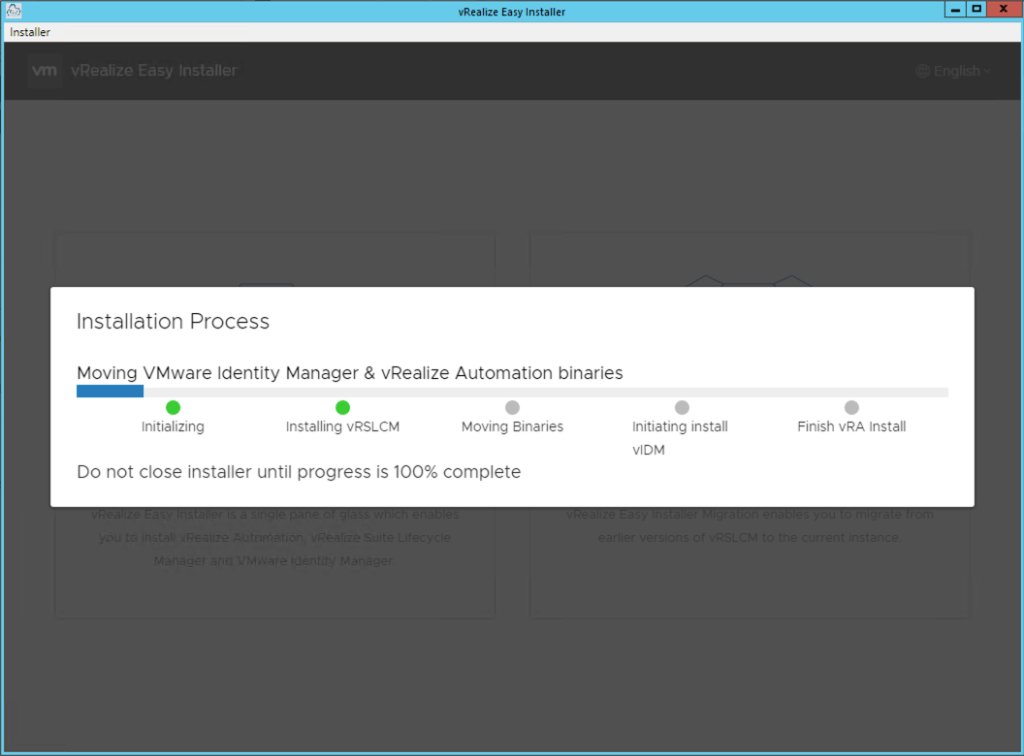
The easy installer starts the whole process. Note that even though I have selected to skip vRA it’s still included as a step in deployment process.
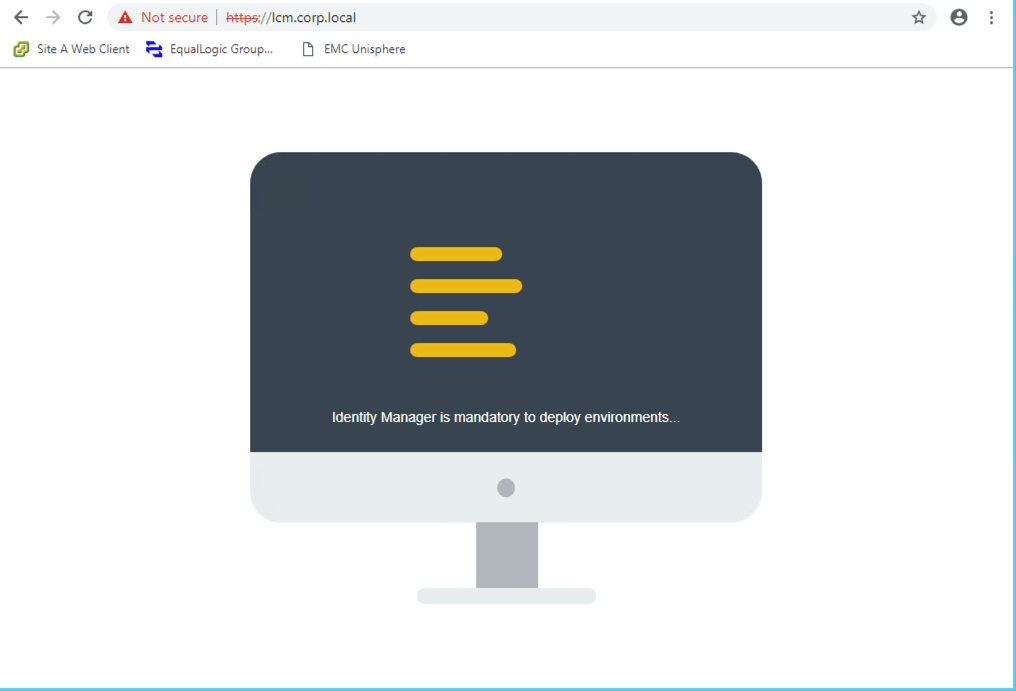
vRSLCM
Once the appliance has been deployed, powered on and had its basic configuration applied you can hit its URL. If the initial configuration application has not yet finished you will see a screen similar to the following.
Once the normal login screen appears you can get started with the admin@local users (remember the password is “vmware” unless current documentation says otherwise).

Once you login you will see the look and fee of vRSLCM has changed slightly.
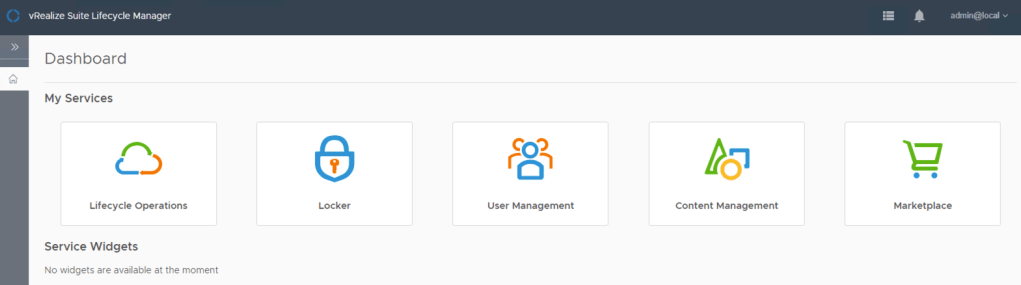
Selecting “Lifecycle Operations” takes you to the same areas you will be used to (slightly updated) where you can see requests, data-centers, environments etc. This is where all appliance configuration and application deployments are conducted from.
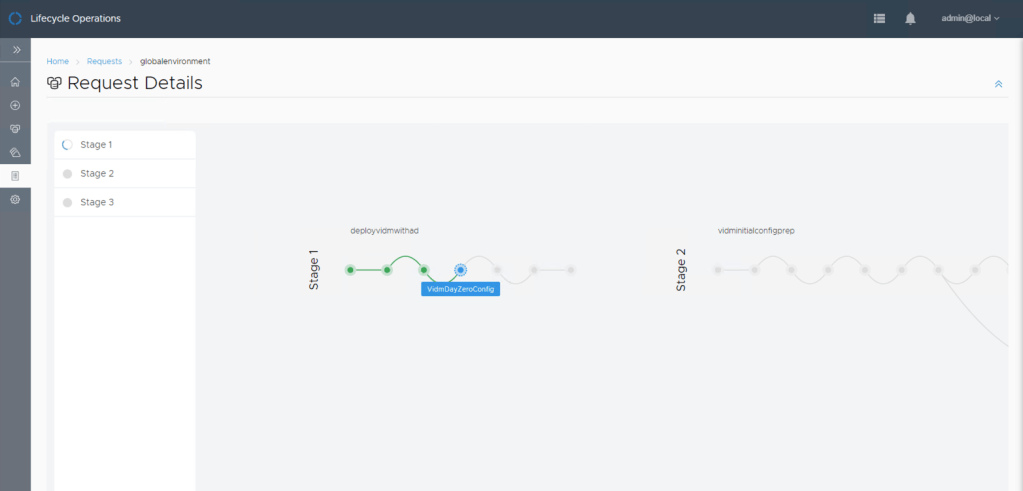
If you have elected to deploy vIDM with the easy installer then you will see a single data-center object on the map (India) and a request to deploy “globalenvironment”. This is the environment that contains your vIDM instance. If you skipped vIDM then you are free to create your own data-center with a location that is correct for you and then deploy vIDM into it using vRSLCM to do so.

Depending on how quickly you logged into vRLSCM your vIDM deployment request may still be running. If so you can click on the request and see at what stage it is at and if it has had any issues.
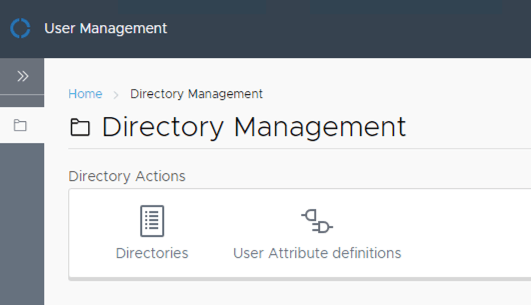
Directory Configuration
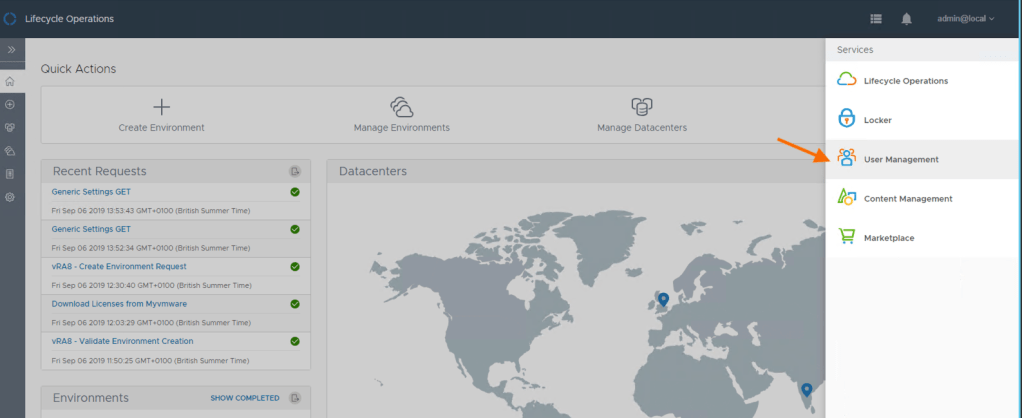
Before I deploy vRA8 I am going to first configure vRSLCM (and therefore vIDM) with a directory to use with my fresh install vIDM. This is done from the “User Management” service of vRSLCM. All services can be accessed from the top right hand corner of vRSLCM or by hitting the circle icon in the top left hand corner.
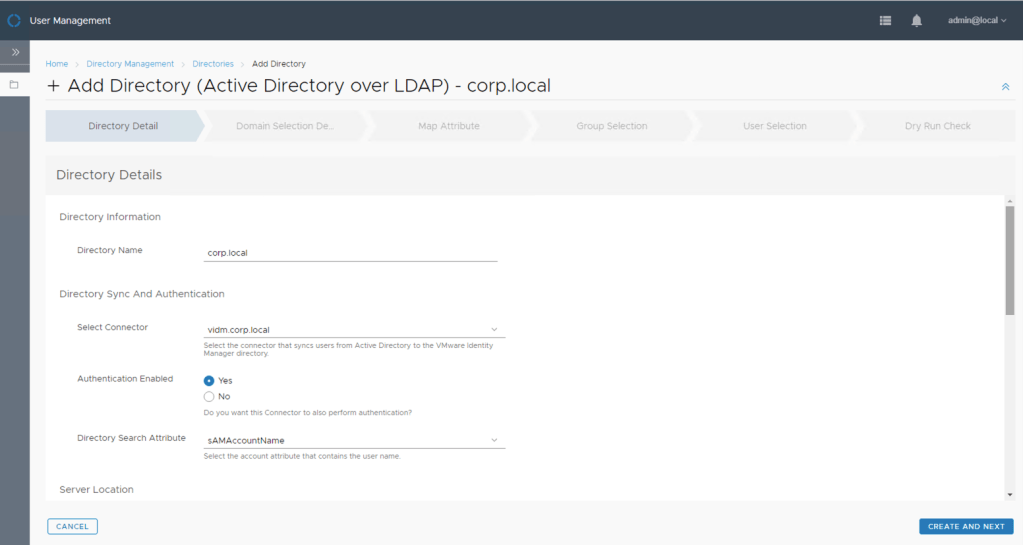
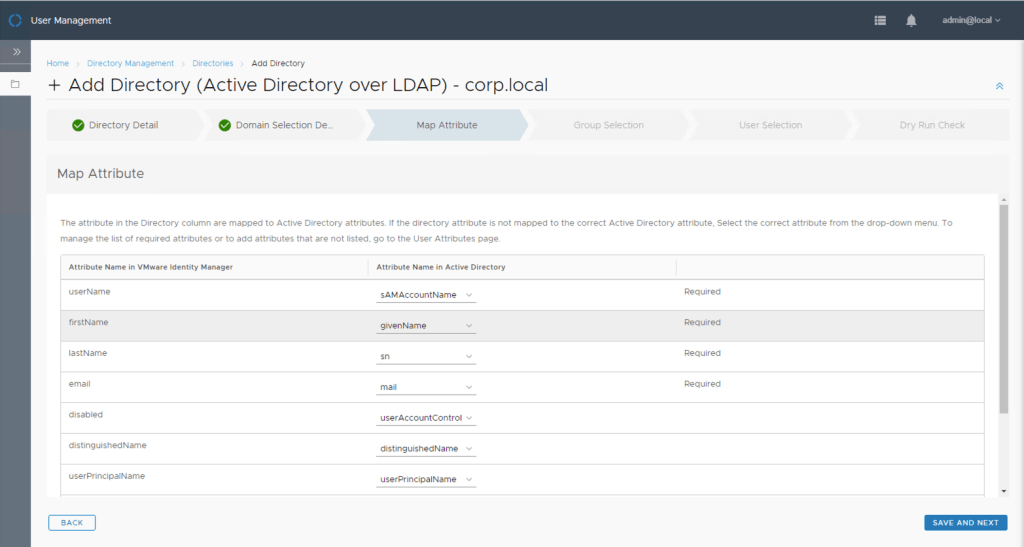
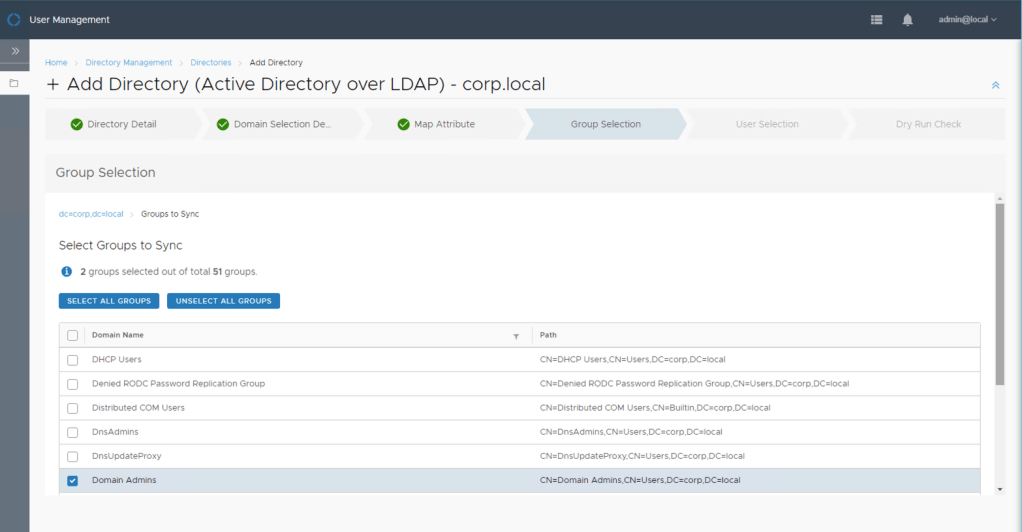
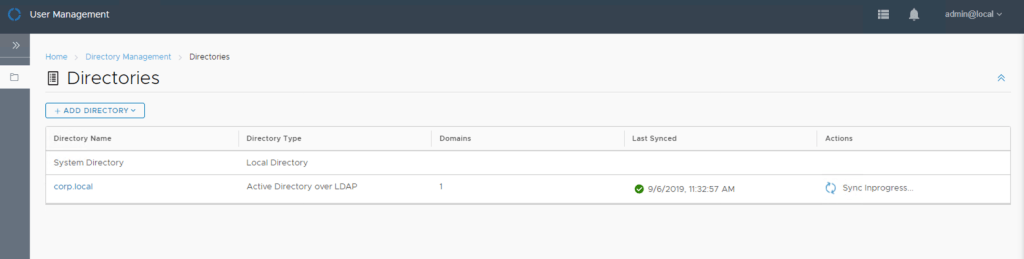
To add a new directory click on “Directories” -> “Add Directory”. You will be able to configure the directory configuration in the same way as vRA 7.x using either LDAP or IWA. If you have imported an existing vIDM instance into vRSLCM then your directory configuration should already be listed and no further changes should be required.

In this example I am using AD over LDAP and you will notice that as my vIDM install is only a single appliance I have no option to use multiple connectors for syncing and authentication (one connector per vIDM appliance).
Note if you want to have a highly available vIDM solution then you should deploy your vIDM platform separately, cluster it with a shared backend SQL database and then import that vIDM platform into vRSLCM so it can be used (more to follow on this in a later article).

Once completed your vRSLCM install will show 2 directories. The first is the default directory within the vIDM install. This is where the configuration user that easy installer prompted for resides as well as the “admin” user for vIDM itself.
vRealize Automation Part 2
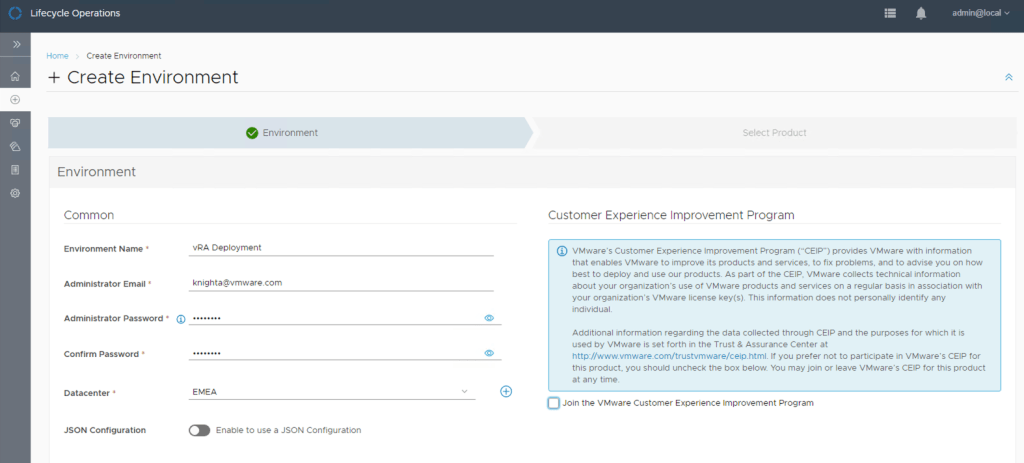
Now that the basics have been completed within vRSLCM I am going to deploy vRA8 (remember you could have opted to deploy vRA8 at the same time as vIDM).
I am going to create a whole new environment and not deploy vRA into the “defaultenvironment”.
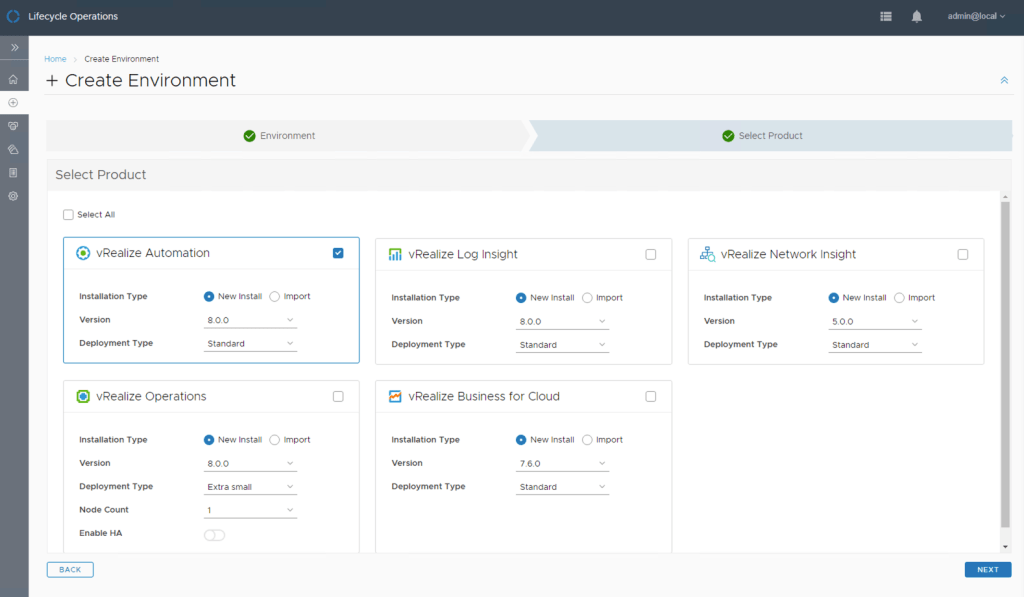
As per previous version of vRSLCM, you need to select the product you want to install and the type of installation. With vRA 8 there is now only standalone or cluster (cluster statically setup for 3 nodes at the time of writing).
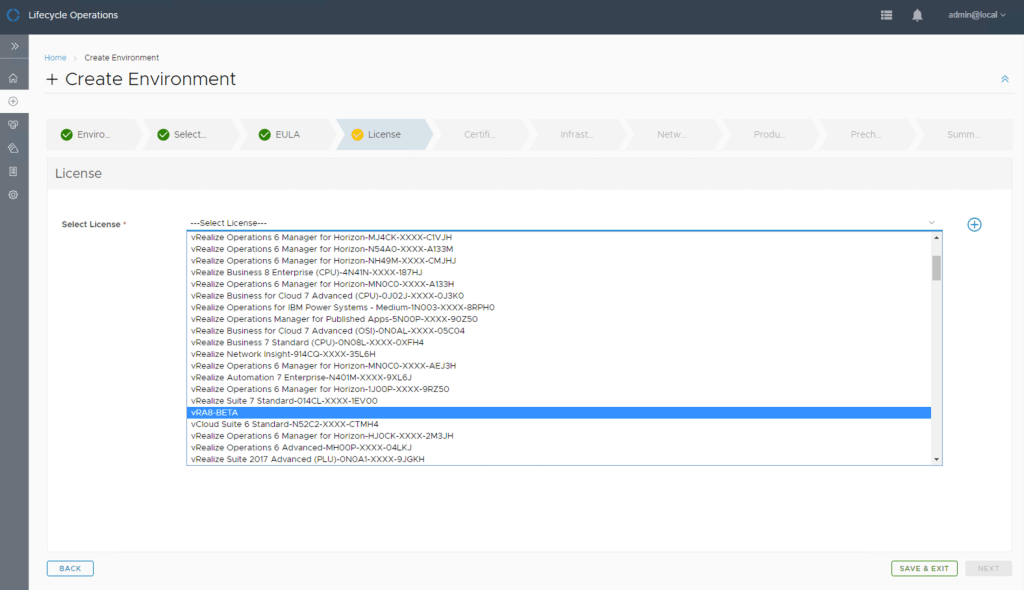
If you have already tied vRSLCM into a myvmware account that has access to your license keys then the drop down list will be pre-populated with all licenses. The plus icon can be used to add a specific key to the list if your key is not listed.
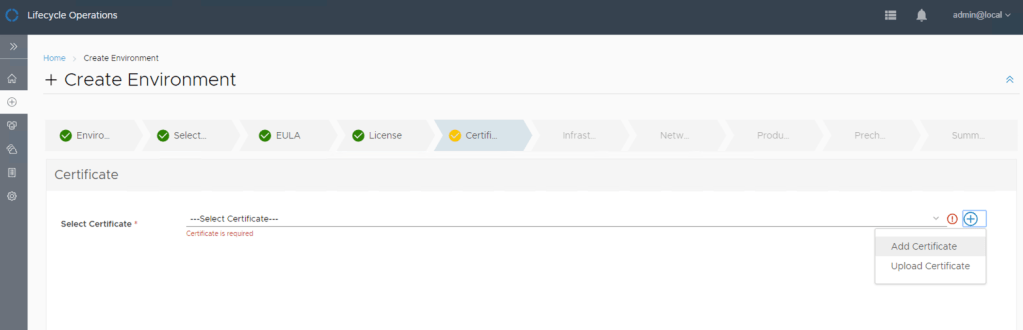
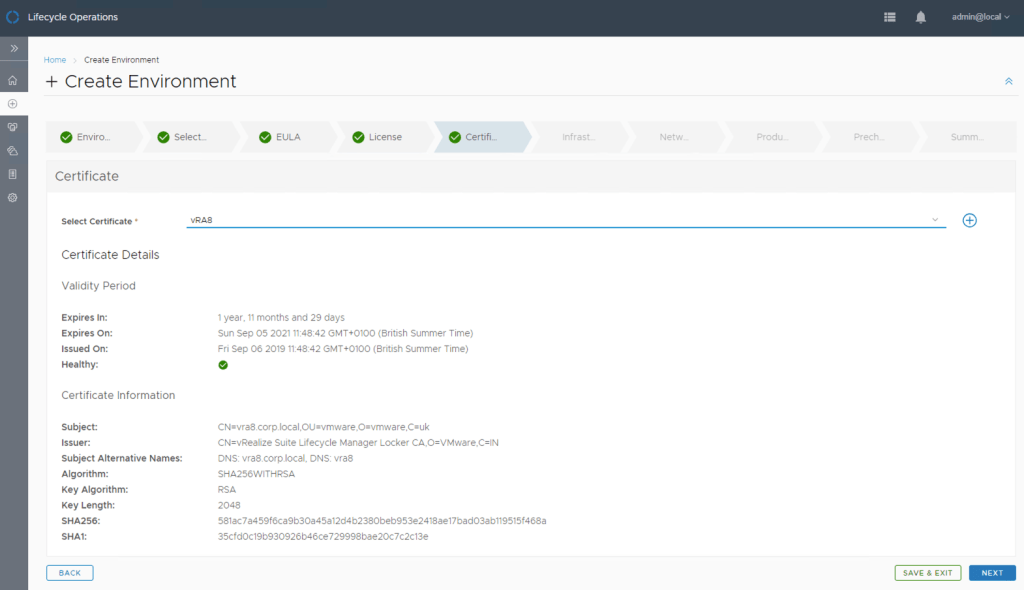
Certificates can either be imported if public and private keys are available or a vRSLCM signed certificate can be generated. If you have a cert already in vRSLCM then you can choose it from the list.
Note that the “Locker” service in vRSLCM can also be used to generate a CSR that you can take to your enterprise CA for signing and import the public key back into vRSLCM. This cannot be done from the environment deployment wizard and must be done prior to starting a deployment (or save and exit the deployment so that you can return to it later).
The precise deployment details can be selected from the vCenter that belongs to the datacenter you are using.
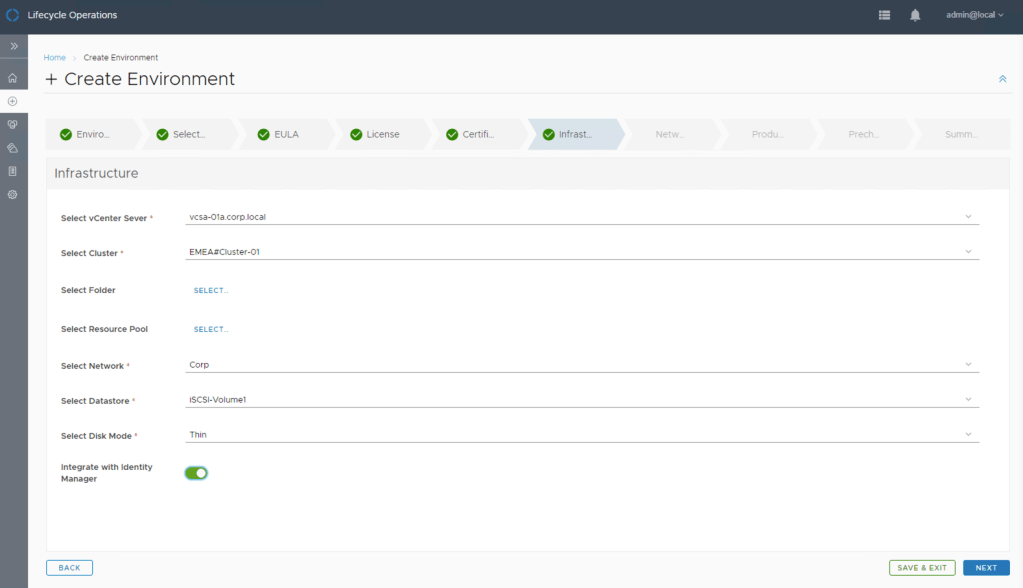
Network details for the entire deployment are added here. This means that all the components of the environment will use these details (i.e. all vRA appliances).
DNS servers should also be added and then selected for use.

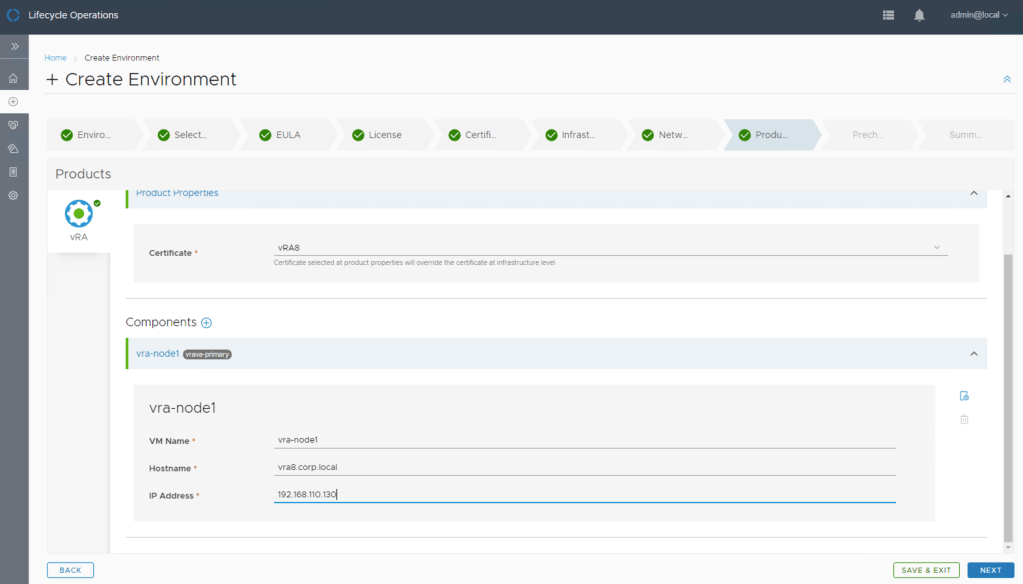
The specific IP addresses for each vRA appliance need to be provided (no DHCP) as well as the vCenter inventory name and FQDN hostname. These details will all be validated prior to deployment by the wizard.
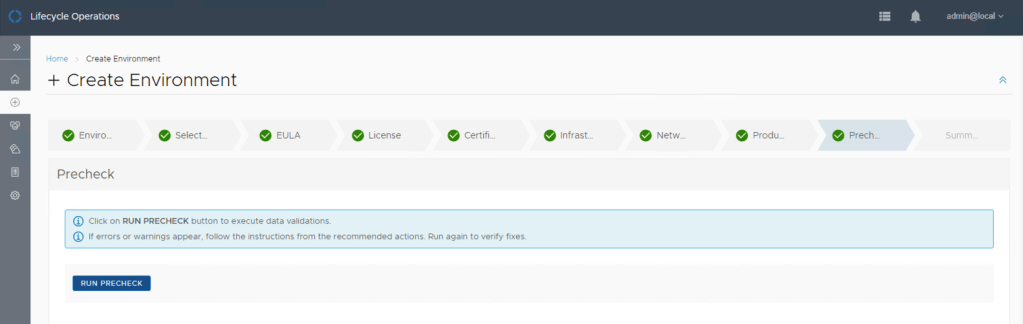
The pre-check step allows vRSLCM to verify that all of the details you have provided are correct (i.e. IP addresses are not registered to other machines, no VMs named the same in vCenter etc.).
A final summary is shown allowing you to perform a final verification before submitting the environment for deployment.

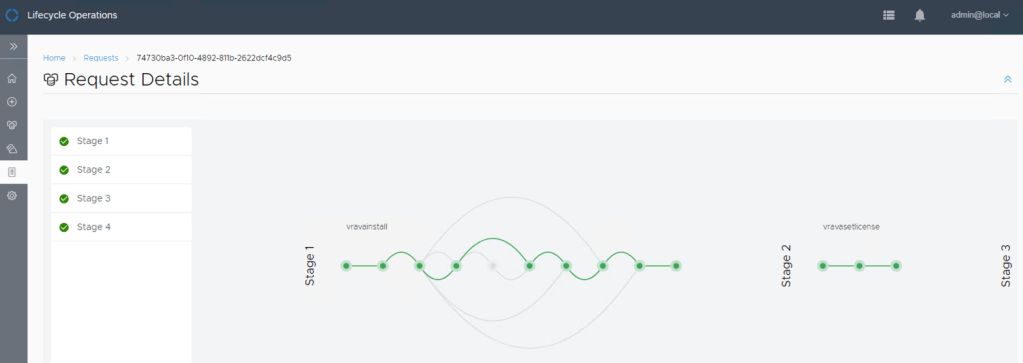
The final step is to monitor the request as it progresses.
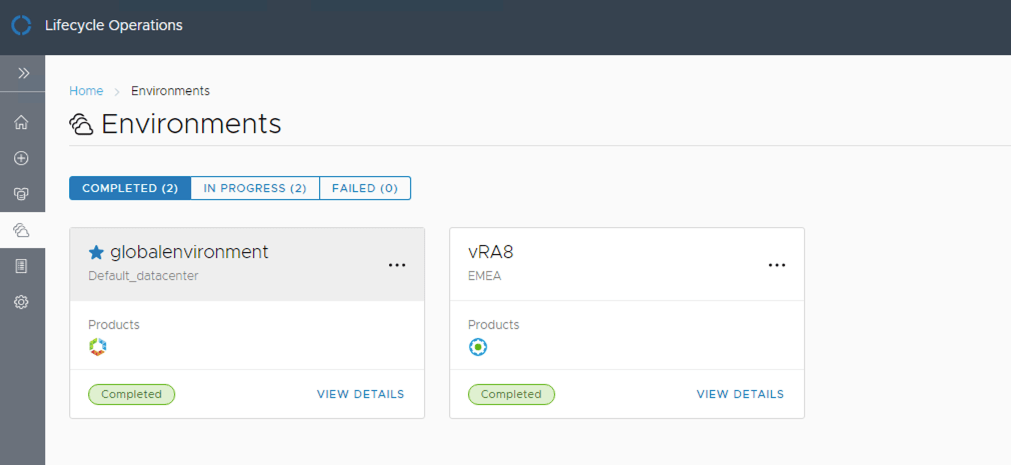
The environment will be listed alongside the “defaultenvironment” once completed.
Initial Login
Once the install is complete you can hit the URL you provided. This takes you to initial welcome page which will redirect to vIDM.

The usual vIDM login page allows you to enter the configuration user you entered in the easy installer. This is against the “System Domain” as it is a local vIDM user.
Note that as no other domain user has been granted access to vRA you cannot change to another domain.

At this point you can now starting configuring vRA, adding users, building blueprints, configuring infrastructure and other constructs that vRA8 requires. I am not going to cover all of that now, stay tuned for another article on all the good stuff.

