Overview
Using vRealize Automation 8 (either SaaS or On-Prem) directly via the GUI or even the REST API is all well and good but what about if you have slightly different requirement such as creating and consuming constructs and content as code. One of the major selling points of vRA is the IaC use case so wouldn’t it be great if we could do everything via a declarative method. Instead of writing individual API calls for each change to be made (including blueprints and everything else) it would be much nicer to just define the desired target state and let something else do all the work. Step forward Terraform.
Standing Up Terraform
There’s nothing complex about installing Terraform, it’s just a single binary that can be executed from the command line from a variety of operating systems. In this article I am going to be using a Windows VM but feel free to choose whatever works for you.
All the binaries can be found here.
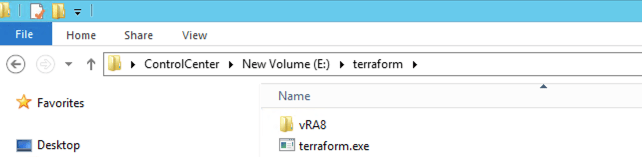
In my environment I have create a directory on the data machine of my Windows machine called “terraform” and placed the terraform executable in there. I’ve also created a sub-directory to hold all of the configuration I want to ask Terraform to apply.
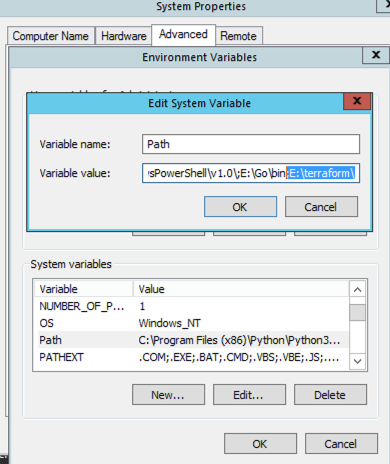
Next I am going to add the Terraform directory to my machines path variable so I can run it from any directory. This may require you to log out and back in again to take affect.
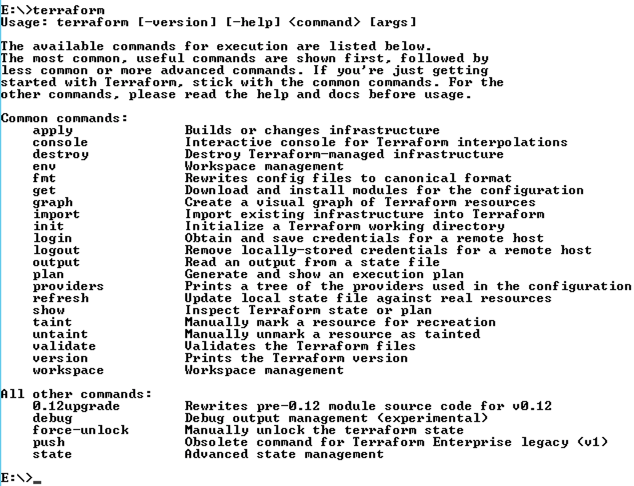
With that done I’m going to open a command prompt and test the path works by executing terraform.exe. This also tells Terraform to create a directory in my user profile which is used to house the vRA specific provider (allows Terraform to understand vRA constructs).
Provider & Go
Providers allow Terraform to understand the various APIs and their interactions as well as exposing endpoint specific constructs for use by Terraform. A complete list of providers created and maintained by Hashicorp can be found here. In addition you can find community created and maintained providers here.
The latest vRA provider that supports vRealize Automation Cloud and 8 is found in neither of these places. Instead it is hosted on the VMware Github site as it is written and maintained by VMware.

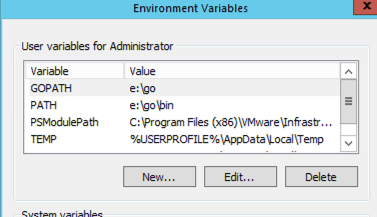
The latest vRA provider release is located here. To use the provider you need to install Go (https://golang.org/dl) as this is what the provider is written in. This is very much a next, next, next affair (my only change being to install it to a different drive and directory). The installation process should automatically add the go executable directory to the system path variable as well as add 2 local user variables (“GOPATH” and “PATH”) to the user account you are logged in with.
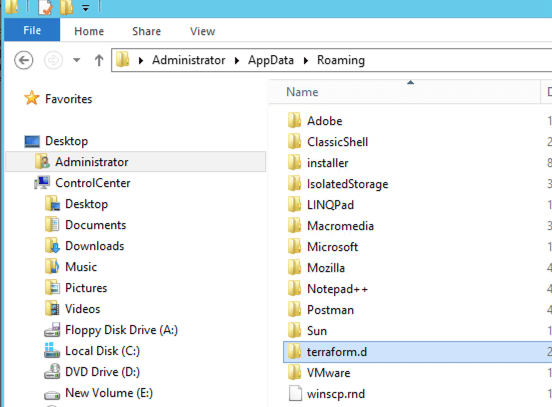
The vRA provider can now be un-compressed and placed in a “plugins” directory under “Your user profile”/”terraform.d”. The plugins directory will not exist if you have just installed Terraform so you will need to create it first.

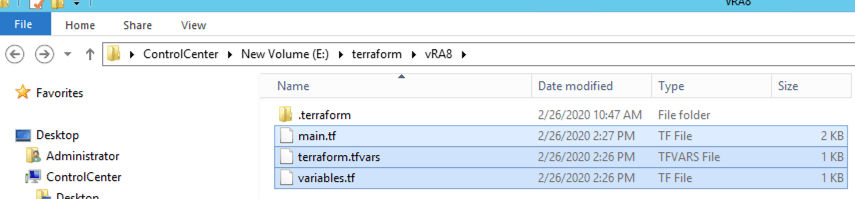
The last part of the initial setup is to lay out 3 files that will hold our declarative code and variables. I am placing them in the “vRA8” directory I manually created (disregard the “.terraform” directory in this location as it is auto-created by Terraform upon execution).
Populating Files
Before I put code into these files you need to understand what each of them are for. In addition, the valid variable names that you can use in “main.tf” can be found within the code examples on the VMware Github vRA Provider pages (see above).
- main.tf – the declarative code module that you want to apply to vRA
- variables.tf – defines input variables to be used in main.tf by name and type
- terraform.tfvars – assigns values to the input variables in “variables.tf”
You could place the input variable values from “terraform.tfvars” directly within “main.tf” however this is regarded as bad practice. Keeping them separate allows Terraform code to be distributed without it containing sensitive information as well as making the module more agnostic across users.
I am going to ask Terraform to use the vRA provider to create a project (with me as the admin), attach a cloud zone to it and finally create a blueprint that belongs to the project just created. Note there are many other things you could do such as creating image profiles, flavor mappings, cloud zones etc.
My first step is to define my input variables in “variables.tf”. This are variables I am going to use to pass external data to Terraform. Here I have 4 input variables which are all strings.
variable vra_url {
   type = string
}

variable vra_refresh_token {
   type = string
}

variable cloud_zone {
   type = string
}

variable blueprint_name {
   type = string
}
Next I am going to provide the values for the input variables in “terraform.tfvars”. Note that if some of the constructs created by Terraform would be needed by other resources within my Terraform module then they could be referenced directly in “main.tf” rather than populating either of the other 2 files.
# vRA Cloud Variables
vra_refresh_token = "6o20MF9idomRUmXccDITbTpeANoZz8ktH90aBv2rBfbxStiHpHlkgA22c0Y4LjYj"
vra_url = "https://api.mgmt.cloud.vmware.com"
cloud_zone = "AK-GS-ACE-EMEA"
blueprint_name = "Terraform BP Test"
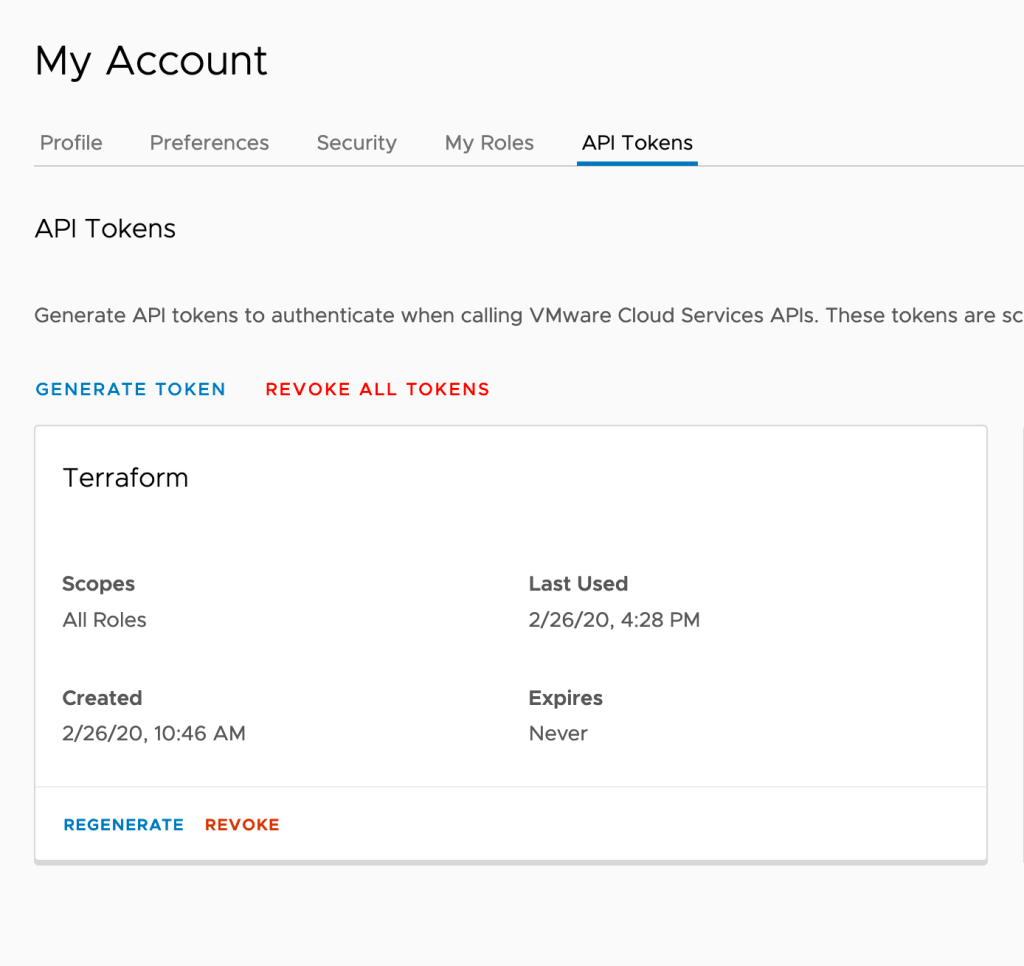
As I am using vRA Cloud in this example my refresh token corresponds to an API token I created against my account as shown below. If you are using vRA On-Prem then you will need to request either an access token or refresh token programmatically (see here) as there is no way to create an API token via the GUI. This involves exchanging login credentials for the token (note that an access token is time limited where as a refresh token is valid for 6 months).
Now all that is left is to write the module itself that uses these input variables. My first task at the top of the file is to declare how the vRA provider will authenticate. In this case I am using vRA Cloud with an API refresh token value from “terraform.tfvars”. Using “var” at the start of each value means that Terraform will look for the value in “terraform.tfvars”. The second part of the value refers to the actual input variable name.

The next step is to define the “vra_zone” as a data source by using “data”. I am also naming the data source as “this” (although you could you use any string value) so I can target it programmatically via name. My configuration allows me to tell Terraform I want to use an existing “Cloud Zone” matched via name. Here I am setting the Cloud Zone name to the value held in “terraform.tfvars”.
# Define data resource for an existing cloud zone
data "vra_zone" "this" {
   name = var.cloud_zone
}
Now I’m going to ask Terraform to create something, in this case a project. This is done by using a resource data source. Here I have hard coded a few values although they could equally be taken from the “terraform.tfvars” file if defined there.
I want to also attach an existing Cloud Zone to the new project so I take the ID of the located Cloud Zone and assign it to zone_id. As it is a data source located by Terraform in main.tf I need to refer to it as a data source, type, name and then use the ID property.
# Create new project
resource "vra_project" "this" {
   name = "AK_Terraform"
   description = "Configured by terraform"
   administrators = ["knighta@vmware.com"]

   zone_assignments {
      zone_id = data.vra_zone.this.id
   }
}
My final task is to then define a blueprint that can be used by users from the new project. Again I am using “resource” but in this case of type “vra_blueprint”. I’m taking the name of the blueprint from “terraform.tfvars” along with some static inputs such as description.
The blueprint needs to be connected to the project above however in this case I don’t need to use “data” at the start of the project_id value as it is something the module has created and not an existing data source that Terraform has found.
resource "vra_blueprint" "this" {
   name = var.blueprint_name
   description = "Test blueprint from terraform"
   project_id = vra_project.this.id

   content = <<-EOT
      name: Win2K16
      version: 1
      formatVersion: 1
      resources:
        Cloud_vSphere_Network_1:
          type: Cloud.vSphere.Network
          properties:
            networkType: existing
            constraints:
              - tag: 'networkCategory:Production'
        Cloud_vSphere_Machine_1:
          type: Cloud.vSphere.Machine
          properties:
            image: AK-Win2k16
            flavor: AK-Medium
            constraints:
              - tag: 'cloud:on-prem'
              - tag: 'cloud:vsphere'
            networks:
              - network: '$${resource.Cloud_vSphere_Network_1.id}'
                assignment: dynamic
	EOT
}
The rest of the resource defines the content of the blueprint. Any input or resource fields used internally within the blueprint (i.e. those that stat with a $) need to be double escaped by adding a second “$” as shown above.
Testing the Module
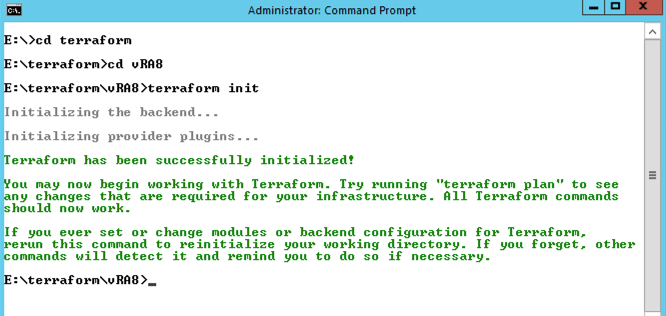
Before I apply changes to my vRA Cloud org I first want to initialise Terraform and then verify what I am asking Terraform to do. The initialisation is done by changing to the directory where my module files are located and executing a “terraform init”.
If this passes without any errors than you can move onto testing the module by examining what Terraform thinks you are asking it to do. This is done by executing a “terraform plan”.
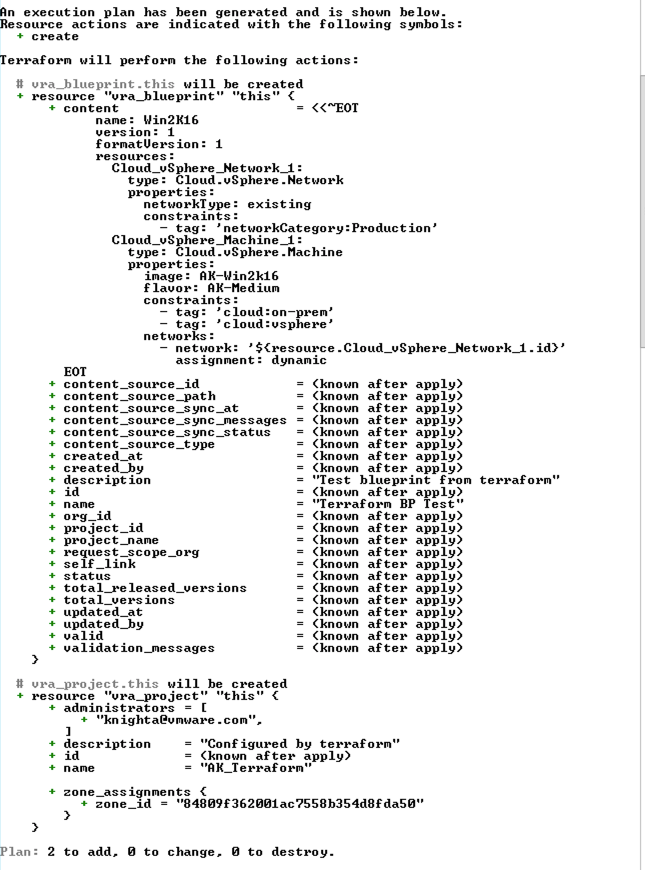
The summary shows that 2 constructs will be created, a blueprint and a project together with their details. If this looks good then you can apply the module using “terraform apply”. As we’re making changes Terraform requires confirmation to proceed.
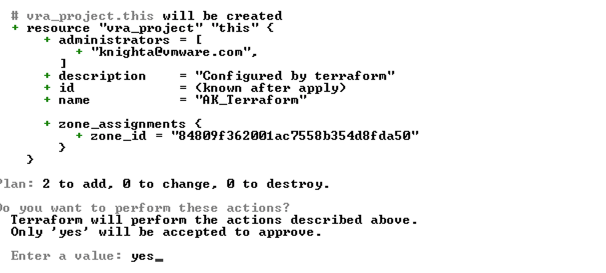

The resources have now been provisioned. Deletion can also be achieved by running a “terraform destroy”.
There are many more examples on the VMware Github site. I encourage you to go and look at them!
