To use certificates within vRSLCM (i.e. assign them to products you are deploying from vRSLCM) they must be added under “Settings -> Certificate”. When this is done each certificate added becomes visible from the product deployment wizards and could be used for one of the given products.
There are a few options available to get certificates into vRSLCM including:
- generate a self-signed certificate from within vRSLCM
- import a certificate (and its chain) into vRSLCM
- generate a CSR from vRSLCM and use it to request a certificate from a CA before importing back into vRSLCM
We will tackle each of these options in turn.
Self-Signed
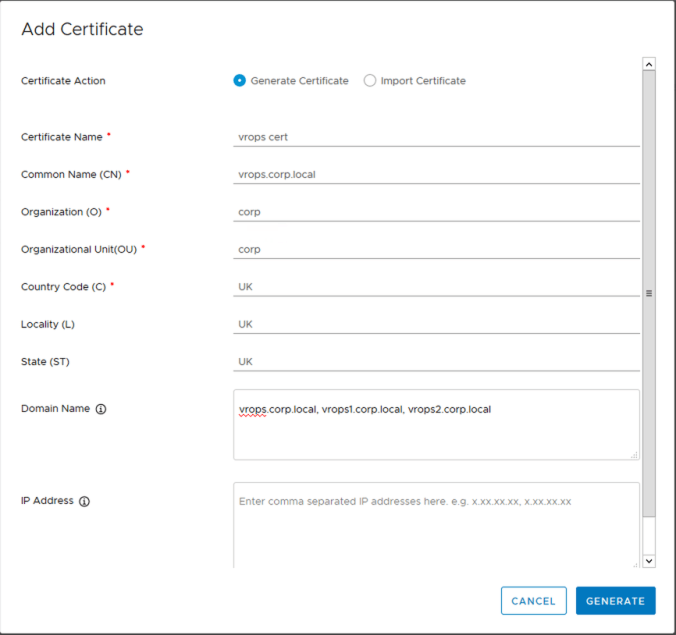
This is the easiest option to get up and running with. First you need to populate the certificate generation wizard.
Once the generate button is pressed the new certificate will be displayed as follows.

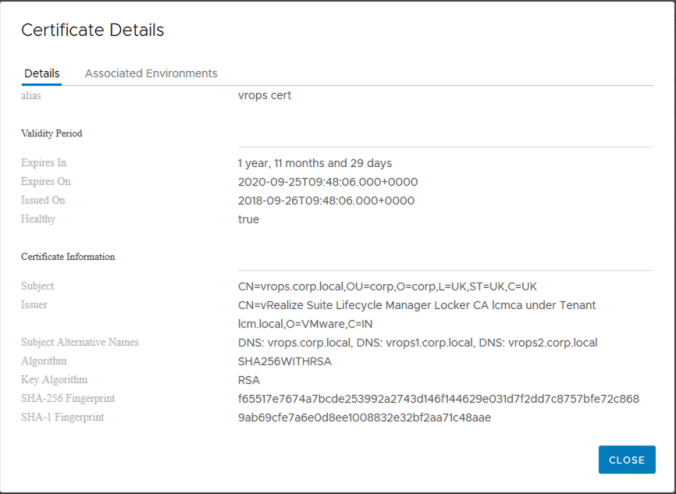
This certificate can now be used for a product being deployed or managed by vRSLCM.
Import a Certificate into vRSLCM
This option assumes you already have a certificate generated for a product you wish to deploy/manage from vRSLCM.
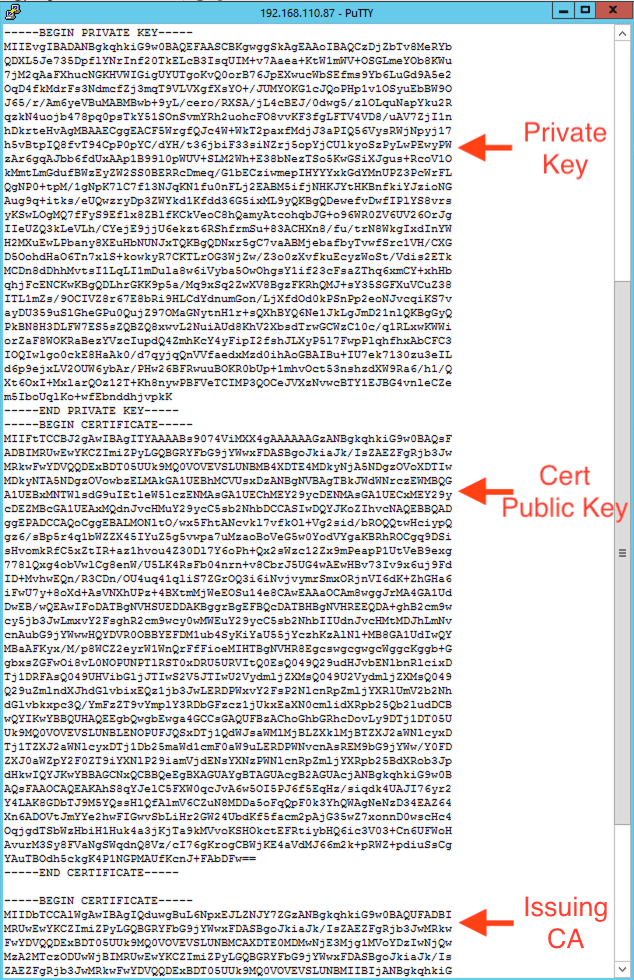
To import a certificate you need to have the following in PEM format base 64 encoded:
- Public key of issuing CA
- Public key of any other CA’s in the issuing chain
- Public key of certificate
- Private key of certificate
You can provide the above information to vRSLCM in one of two ways. The first is to assemble a PEM file that includes all of the above in order (private key, cert public key, issuing CA public key, root CA public key).
Note that if you have no subordinate CA’s in the issuing chain then you would only including the root CA.
Once you have this file you can simply upload it as follows.


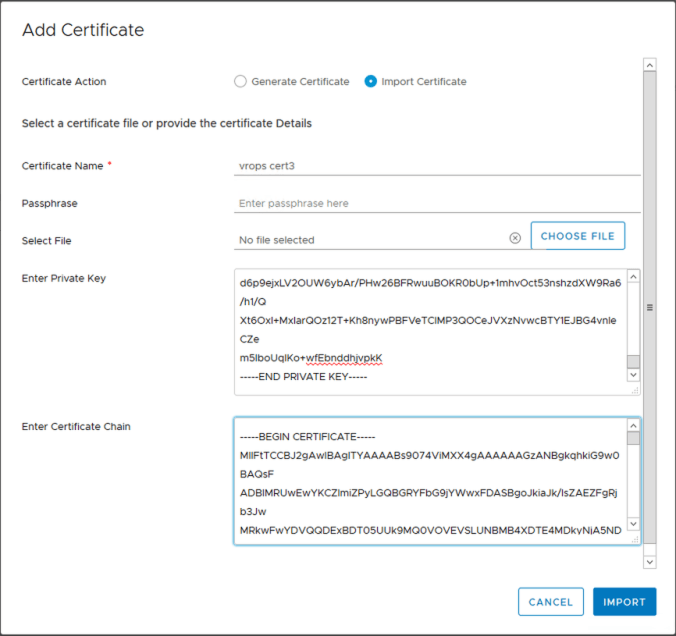
Alternatively you can provide the public (certificate and CA public keys in order) and private keys separately by pasting them into the boxes provided.

Generating a CSR from vRSLCM
This last method is the simplest to use when you have no certificates to start with AND you need to use CA signed certificates. You could create a CSR manually via OpenSSL (see https://vnuggets.com/2018/09/18/log-insight-replacing-ssl-certificates/ for an example of generating a CSR via OpenSSL) however vRSLCM gives you the ability to generate your CSR from the GUI as follows.
Fill out the CSR wizard with the details that correspond to the certificate purpose. In this case my certificate is for vROPs and I will have 2 nodes load balanced under the common name vrops.corp.local.

Once you hit the “Generate” button you are prompted to download the CSR.
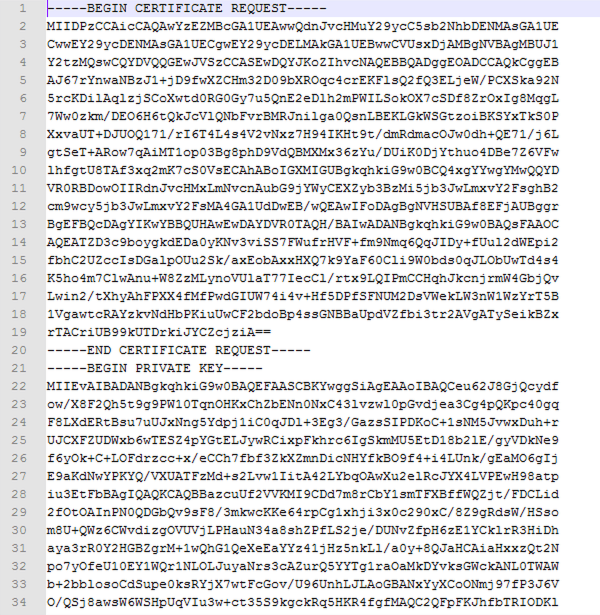
The CSR file also includes the private key. The request part can be copied out and provided to the issuing CA. The complete base 64 encoded chain can then be downloaded from the issuing CA (converted to PEM format if necessary) and the private key then added back to the resulting file using the same order as shown in the previous section of this post.
The certificate can then be added to vRSLCM via the “Import Certificate” option, supplying the assembled PEM file.
