The following process has been illustrated using Log Insight version 4.6.1 however it is also the same for version 4.7.
Log Insight comes configured out of the box with a self-signed certificate that is generated during the installation. For some customers this is fine however there normally comes a point when either the certificate expires or a security requirement comes into play that requires the self-signed certificate be replaced.
Asses the Impact
Before you change anything it is important to understand what the impact of changing the SSL certificate is on your environment. The certificate can be used for several things and depending on how the platform has been configured may mean you need to do more or less work to complete the change.
The obvious use is for securing the communications between a users web browser and the Log Insight installation however if you are using the CFAPI protocol within the Log Insight agent(s) then you may also be using the certificate for securing connectivity between the agent(s) and Log Insight server(s).
If SSL is being used for securing agent connectivity then it is important to understand whether a certificate change will be automatically accepted by the agent(s) or whether the issuing CA bundle will need placing on each agent machine to allow connectivity to be re-established.
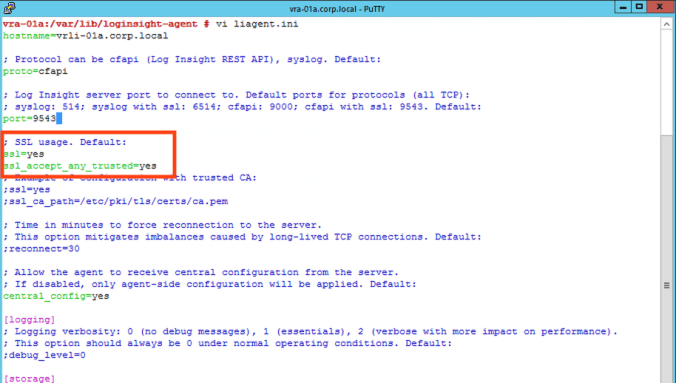
You can examine an agent configuration file to validate the settings. In this example we can see our agent is configured to accept any SSL certificate and therefore we can change the SSL certificate on the Log Insight installation without any further work.

However, if it your agent configuration looks like the screenshot below then there could be significantly more work ahead. In this configuration the agent will only accept a certificate that is recognised as being issued by a trusted authority. It will look within the file system (local certificate store for Windows) for a CA certificate and then validate the Log Insight certificate against the CA. Your environment may not have your CA cert(s) installed on your machines and if this is the case then you would either need to role those out first or make a decision to trust any SSL certificate presented by Log Insight servers. Either method requires making changes to agent configuration files.
Generating a Certificate Request(CSR)
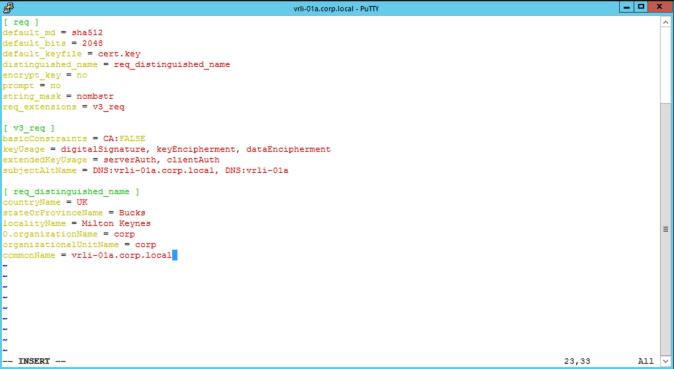
To create a new certificate for our Log Insight platform we first need to define the requirements of the certificate which includes host names, key length, algorithm, usage plus a few other things. We do this by creating a config file that contains everything needed.
If you are operating a Log Insight cluster then the “subjectAltName” field should contain all the DNS names of the cluster members (long and short names) plus the cluster FQDN(s) that belongs to the VIP(s). The main cluster FQDN should also be set as the common name. In this example we are only operating a single node without a VIP so our common name is the node FQDN.
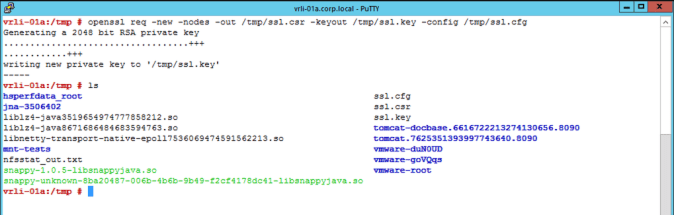
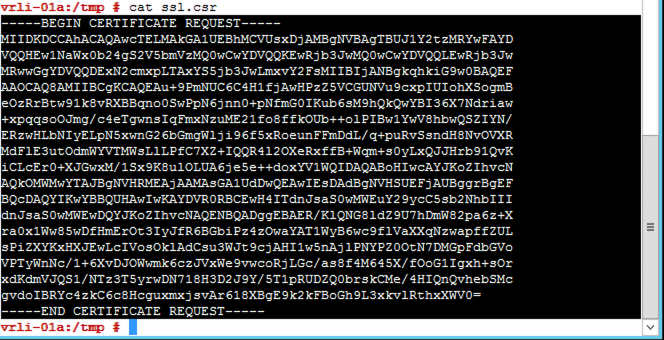
Once the configuration file is saved we can use it to generate a certificate request (CSR) with either local or internet based CA. To start the CSR creation we will use “openssl” on a Linux server. As our Log Insight appliance has openssl we will use this.
The command line options outputs the private key that will belong to the certificate as well as the CSR file.

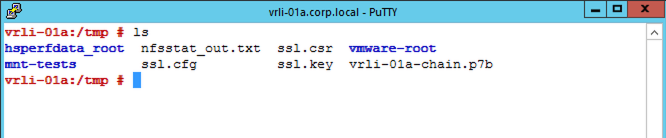
We should have 3 files now. The original configuration file, the CSR and the private key file as shown below.
Obtaining a Certificate Using a CSR
In our environment we are going to use a local CA (certificate authority) that is provided by Active Directory. An external CA (e.g. digicert) could also be used and generally you would need to supply the CSR via the external CA’s web portal.
For the Microsoft CA web portal we need to start the request process. The URL is usually the CA server name followed by “/certsrv” (e.g. http://ca.corp.local/certsrv).
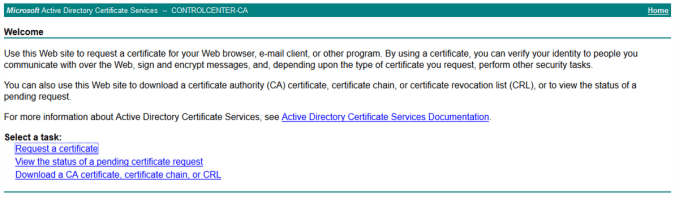
We need to request a certificate for a server so this is an “advanced certificate request”.

To complete the request the contents of the CSR file should be copied and pasted into the CA web portal request. The certificate template to use should be the generic web server template. A VMware specific template can also be used if one has been created within the CA previously.

Once the request has been submitted and processed the certificate chain should be downloaded in “Base 64 encoded” format. The certificate file we provide to Log Insight most include our new certificate and all the certificate of the issuing authority chain (plus the private key but more on that later).
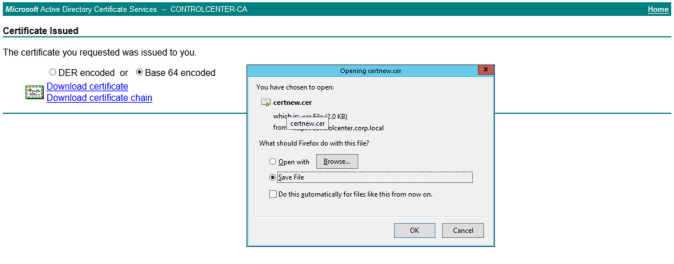
The “p7b” file can then be copied back to our Linux server (i.e. the Log Insight server in this case).
Converting the Certificate
Before we can use the certificate it first needs to be processed and manipulated. This involves changing the format of the file from “p7b” to “PEM”. We use openssl to do this as follows.

With the certificate in the right format the final step of processing is to combine the private key and PEM certificate into one file which will be uploaded to Log Insight in the next section of this post.

The combined file can now be downloaded from the Linux server ready for uploading to the Log Insight GUI.
Replacing the Certificate
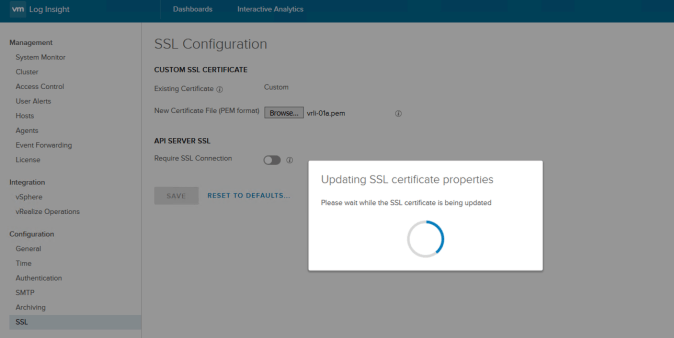
These final steps are the easiest. The certificate is uploaded from the “Administration” page of Log Insight.
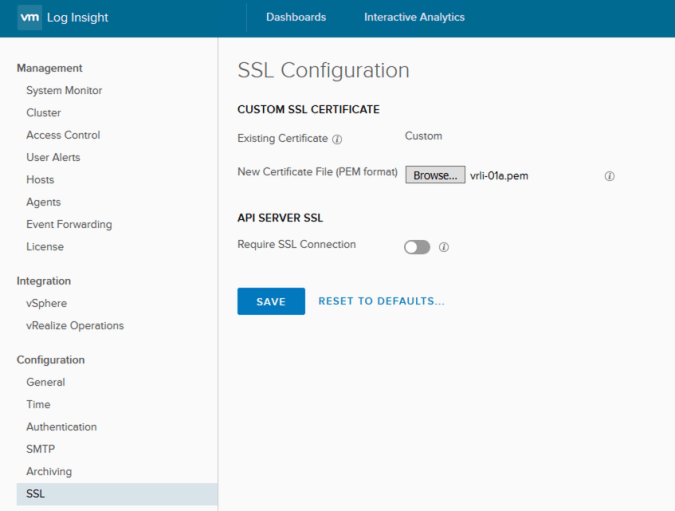
The product will update itself as soon as the “Save” button is pressed. Once you are returned back to the configuration page it is advisable to log out of Log Insight and restart your web browser.
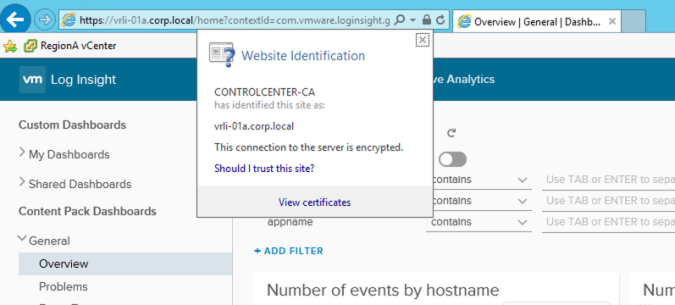
Opening up a new browser and session to Log Insight should now allow you to verify that the CA issued certificate is in operation.
Troubleshooting
If after the new certificate has been uploaded your agents are not sending data into Log Insight you should check out the agent logs. In most cases this issue will be related to agent configuration and SSL.
The agent logs are located in:
Windows – %ProgramData%\VMware\Log Insight Agent\log
Linux – /var/log/loginsight-agent/

Pingback: vRealize Suite Lifecycle Manager – Certificates | vnuggets