This article is a quick show and tell covering what’s involved in a point release upgrade of NSX-T. In this case I am moving from 2.4.0 to 2.4.2 (used with vSphere) but the same principles can be applied for other versions (note some screens may differ for future versions).
Upgrade Order
The order that an upgrade is conducted is prescribed by the NSX Manager for the environment. The upgrade wizard only allows the right components to be upgraded at the right time.
The overall upgrade order is as follows:
- Upgrade coordinator
- Hosts
- Edges
- Controller Nodes
- Management Plane
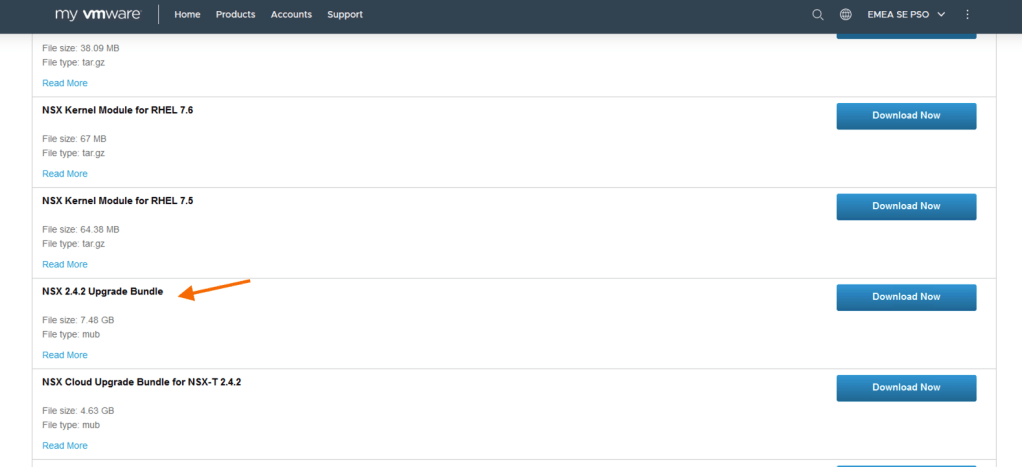
Obtaining the Upgrade Package
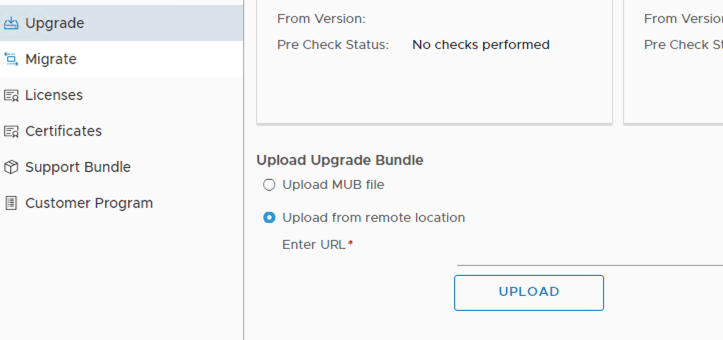
This can either be downloaded from the VMware download site manually or you can choose to point NSX Manager to a download URL directly. The NSX-T upgrade file is usually considerably large (several GB’s) so make sure you take that into account when selecting which method you are going to use. In my environment I am downloading this file onto my laptop and then uploading it to NSX Manager.
Host Upgrade
The hosts in my environment run vSphere. The host upgrade process can be service affecting as it requires each host to be placed into maintenance mode before packages can be pushed and applied. This means that running virtual machines need to be migrated onto other hosts and may mean that for a cluster of hosts to be upgraded VMs have to move several times. Depending on your workloads sensitivity to vMotion operations this may or may not be an issue.
The upgrade leverages DRS and maintenance mode to trigger all necessary VM move operations so if DRS is not enabled or you have stand alone hosts then emptying your hosts is up to you.
Host upgrades can either be done in serial (i.e. one host at a time) or in parallel (note that parallel has a max limit of 5 concurrent upgrades within a group and across groups).
NSX Manager automatically places your hosts into upgrade groups that line up with the vSphere clusters they belong too. If you want to move your hosts around within a group to change the order they upgrade in then you can using the “Actions” menu when you have clicked into the group. You can also transfer hosts between groups as well in the same way.
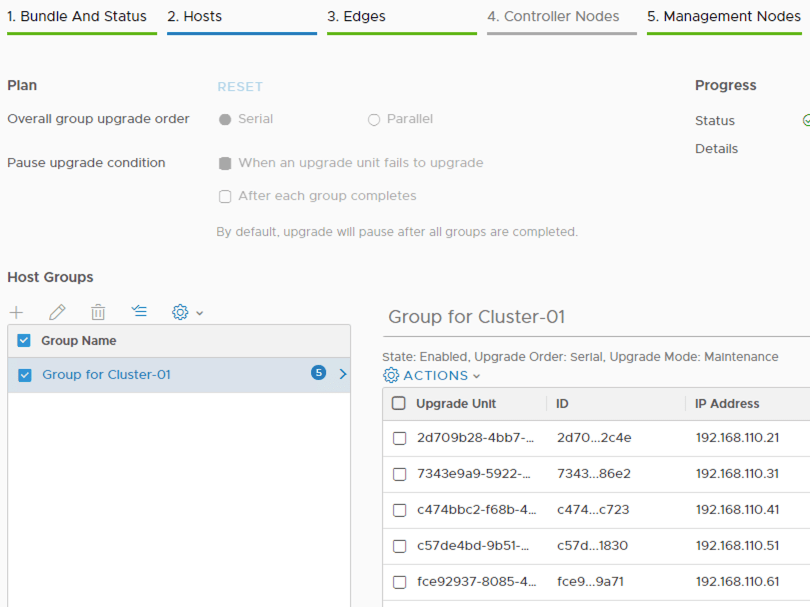
In my environment I opted for a serial install due to resource restrictions preventing me from taking down multiples hosts at the same time whilst keeping my workloads running.
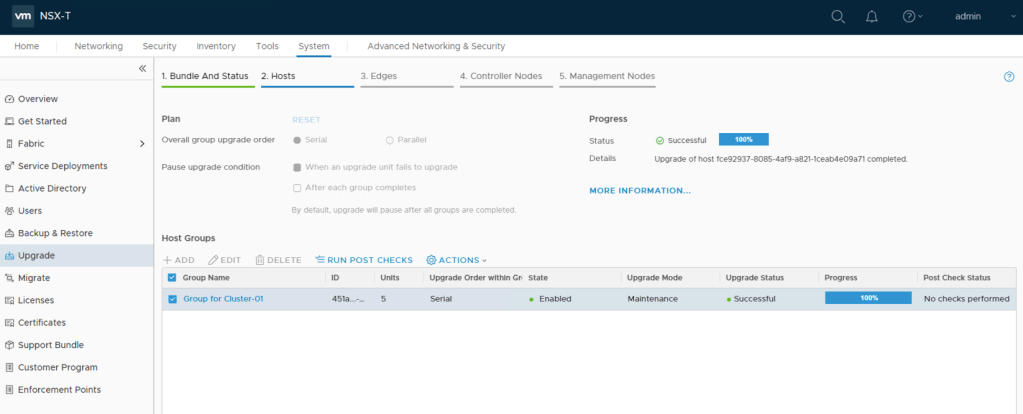
Once the host upgrades have completed you will need to run the post upgrade checks before you are allowed to move to the next part of the upgrade.
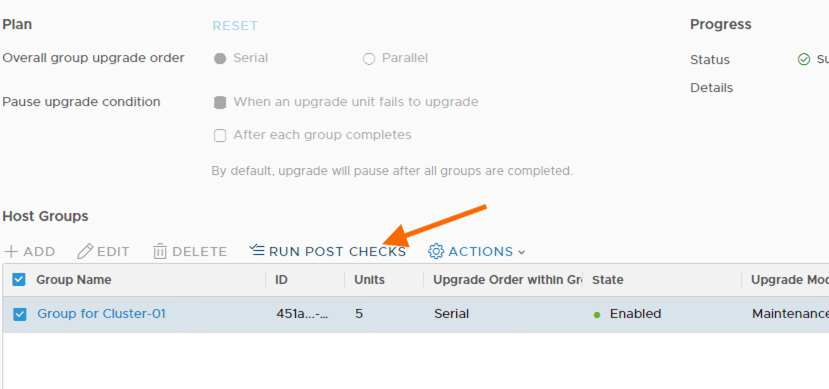
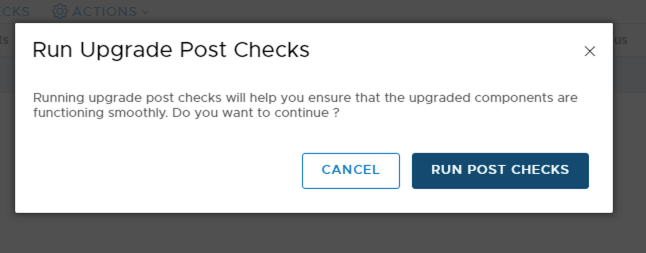
If all is well then the Post Check Status should be marked with a green tick.

Edge Upgrades
The same ordering and grouping amendments can be applied for the edge upgrades, allowing you to fine tune how the upgrades are applied. Once you are happy then you just need to hit the “Start” button to proceed.
In this example I only have a single edge so it makes no difference whether I choose serial or parallel.

Once completed Post Checks need to be run to verify everything is all OK.


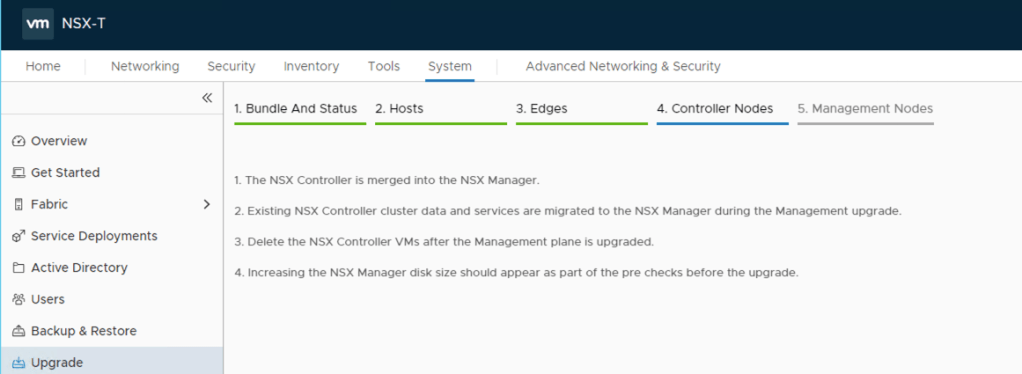
Controller Nodes
In this instance I have no controller nodes to upgrade as I am coming from NSX-T 2.4.0 where the controller node functionality now resides within the NSX Manager appliance(s).
There is however still a nice reminder to tell you that you can now delete any old controller nodes if you are coming from an older version.
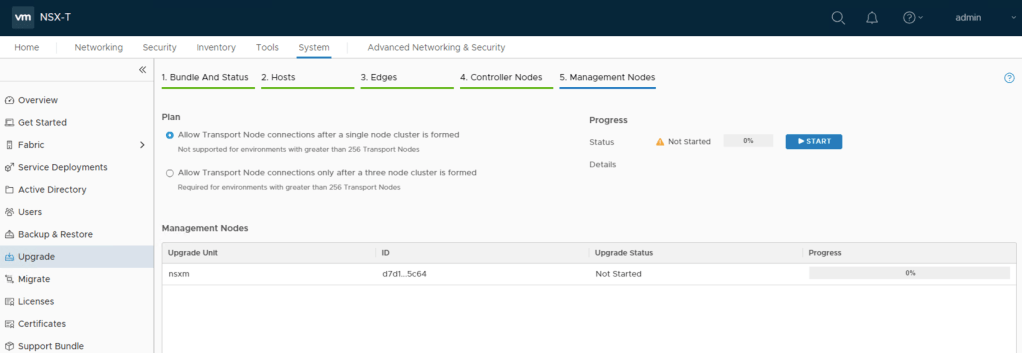
Management Plane
The last part of the upgrade is for the management plane. My environment only has a single NSX Manager appliance so the management cluster contains only a single appliance.
Once this part of the upgrade is started you will lose connectivity to NSX Manager as the upgrade is applied and services are restarted.

Logging back into NSX Manager will show the status of all components that have been upgraded.

A log of all upgrades is kept in the history section to provide an audit trail.

That’s it. It’s not rocket science and the whole process went smoothly.
