This is the first article from a series covering the use of vRSLCM with source control. Links to the other articles in the series can be found at the bottom of the page.
1. vRSLCM and Source Control
Before we can do anything with source control and vRSLCM we need to have something that will perform the source control function. vRSLCM does do some rudimentary versioning when performing content capturing operations but nothing that is enterprise ready for source control. To add this functionality the product needs to be integrated with an external system. Currently we only support Gitlab server for this function so that is where we will start this series of articles, by deploying Gitlab.
For this deployment I am going to use a basic CentOS 7 machine with no special disk/partition configuration. In a product environment you may chose to lay things out slightly differently.
In this example I am following the omnibus package installation method from the Gitlab website (www.gitlab.com to signup or you can go straight to the install here https://about.gitlab.com/install/).

2. Installing and Configuring Pre-Requisites for Gitlab
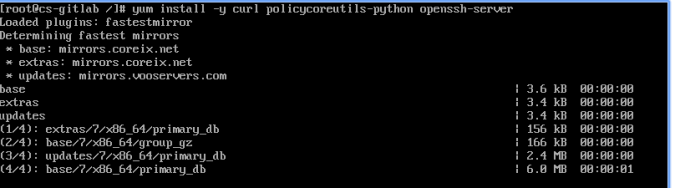
The first thing I am going to do is login to the box as root via a console session and start installing pre-requisite packages that Gitlab will require. These steps are all documented on the Gitlab website however I will go through them here to give you the complete picture. Note that in my example I am already logged in as root so I won’t be using “sudo”.
Once all the packages are installed I need to enable and configure the ssh daemon as well as add some firewall rules in order to make the Gitlab services accessible from another system (i.e. a web client or the vRSLCM appliance).

I am deviating from the documented steps for the firewall daemon configuration as we are going to use SSL with this installation (the documented steps assume no SSL is used). In this case I am allowing HTTP and HTTPs through however you could ommit HTTP if desired.

The last pre-requisite package that is required is postfix. Gitlab needs to send emails when new accounts are created which contain login details therefore we need email functionality to be installed onto the Gitlab server.


3. Installing Gitlab
The server should now be in a fit state to have the Gitlab software deployed onto it if all of the above steps have been completed successfully.
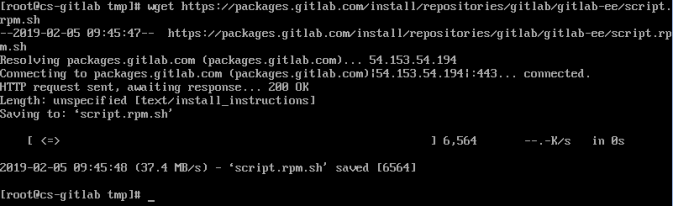
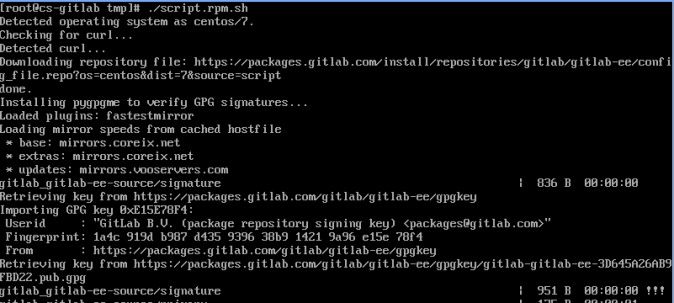
The Gitlab software is installed from an online repository however this repository needs to be added to the server before you are able to install anything. The shell script that adds the repository is hosted by Gitlab and can be downloaded and run or alternatively run direct by piping it through bash. For my install I am downloading the script to the /tmp directory and running it from there.
Once the repository has been successfully added the installation can proceed. The installation requires a variable to be set called “EXTERNAL_URL” which is the URL client machines will use to access the Gitlab instance. My install will be using HTTPS therefore I have made sure the variable is set accordingly.
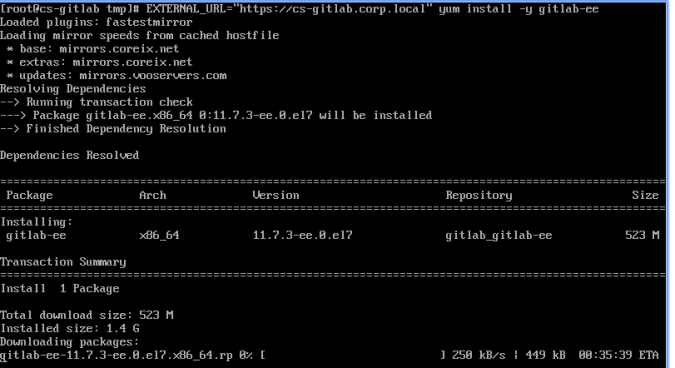
The process will take a few minutes and will depend on the speed of your internet connection (the package is several hundred MB’s).
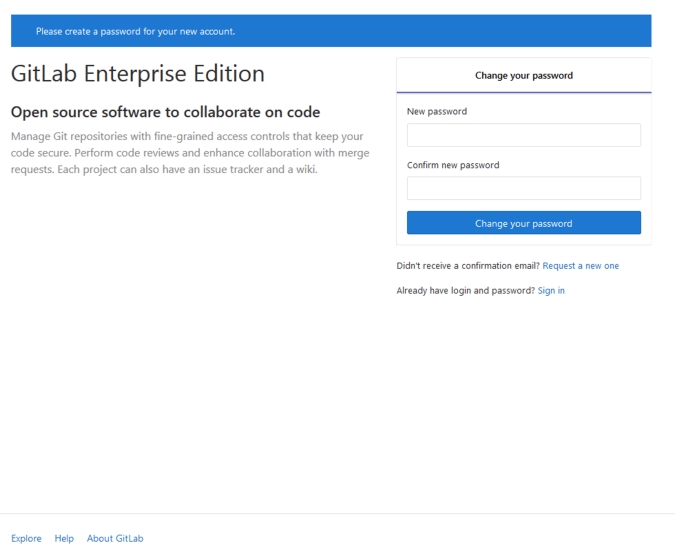
You should now be able to reach the login page. If you used a HTTPS external URL for the install then the server will be installed with an auto generated self-signed certificate.
4. Moving from HTTP to HTTPS (optional)
If you deployed your server with a HTTP configuration but now you want to move to HTTPS then this section is for you.
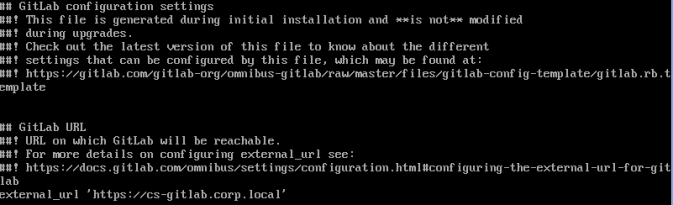
Before we generate a certificate the EXTERNAL_URL of the Gitlab install must be set to the correct HTTPS URL. This is located within the “/etc/gitlab/gitlab.rb” file which can be edited using any file editor. Here I am using “vi”.
Once our URL has been set we need to create a directory on the Gitlab server to host the certificate files. For Gitlab this must be “/etc/gitlab/ssl”. This directory is auto-created and populated when deploying with HTTPS but switching from HTTP to HTTPS requires the directory to manually be created. The permissions must also be set to “700” using chmod.
In this example I am going to generate a self-signed certificate however you could equally generate a CA signed one if you have a CA available and install the files in the same location.
The first step is to create a private key for the certificate. In this example I am using a 2048 bit key.

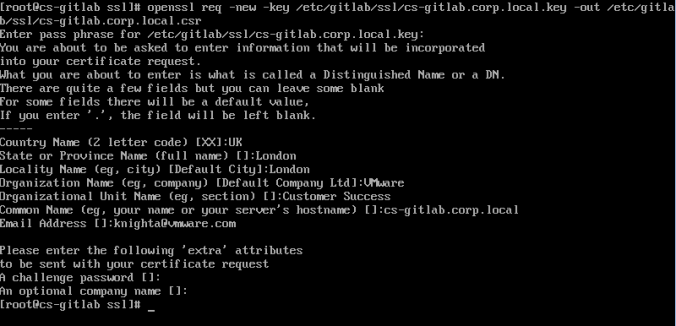
Once the key is generated it is then used to create a certificate request file (i.e. a CSR).
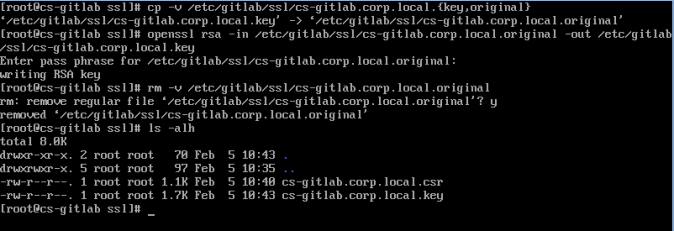
Next you need to strip out the passphrase from the private key file. You do this by creating a copy of the key file (in this case called “original”) and then passing the “original” key through openssl, overwriting the “key” key file. The “original” file can then be deleted.
Now that the CSR and key file are available they can be used to request a certificate using openssl.

The request file can then be removed from the directory before setting the file permissions to the public and private key files to 600.

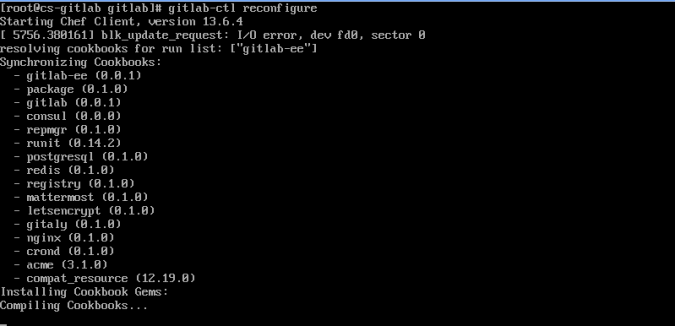
Although the certificate is now in place it won’t be used until Gitlab is re-configured. This can be done by using “gitbal-ctl reconfigure” and by then restarting the gitlab services using “gitlab-ctl restart:.

The final step is to allow HTTPS through the firewall on the gitlab server. Note if you already did this as part of the initial install steps then there is no need to do it again.
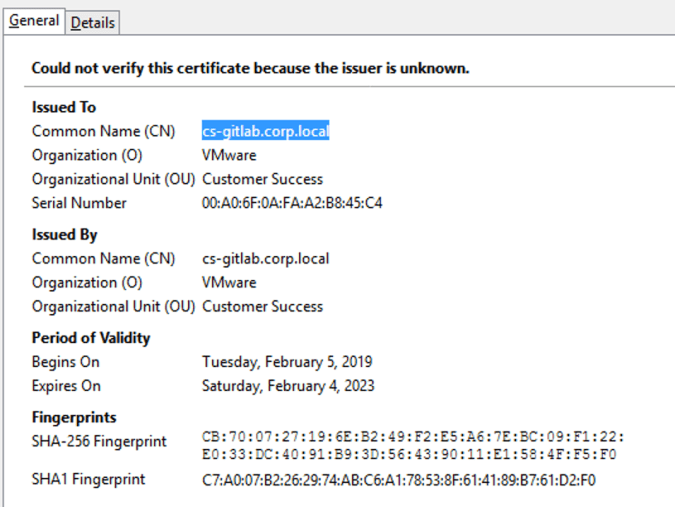
Accessing the Gitlab server and examining the certificate should return information that matches with that which was provided during certificate creation.
5. Other Articles in this Series
- Part 2 – Configuring Gitlab
- Part 3 – Linking vRSLCM to Gitlab
- Part 4 – Capture, Testing & Source Control
- Part 5 – Capture, Testing & Source Control for User 2

Pingback: vRealize Suite Lifecycle Manager – Content Source Control with Gitlab (Part 2) | vnuggets
Pingback: vRealize Suite Lifecycle Manager – Content Source Control with Gitlab (Part 3) | vnuggets
Pingback: vRealize Suite Lifecycle Manager – Content Source Control with Gitlab (Part 4) | vnuggets
Pingback: vRealize Suite Lifecycle Manager – Content Source Control with Gitlab (Part 5) | vnuggets